
Required Tools
| Item | Count |
|---|---|
| P1 Phillips Screwdriver | 1 |
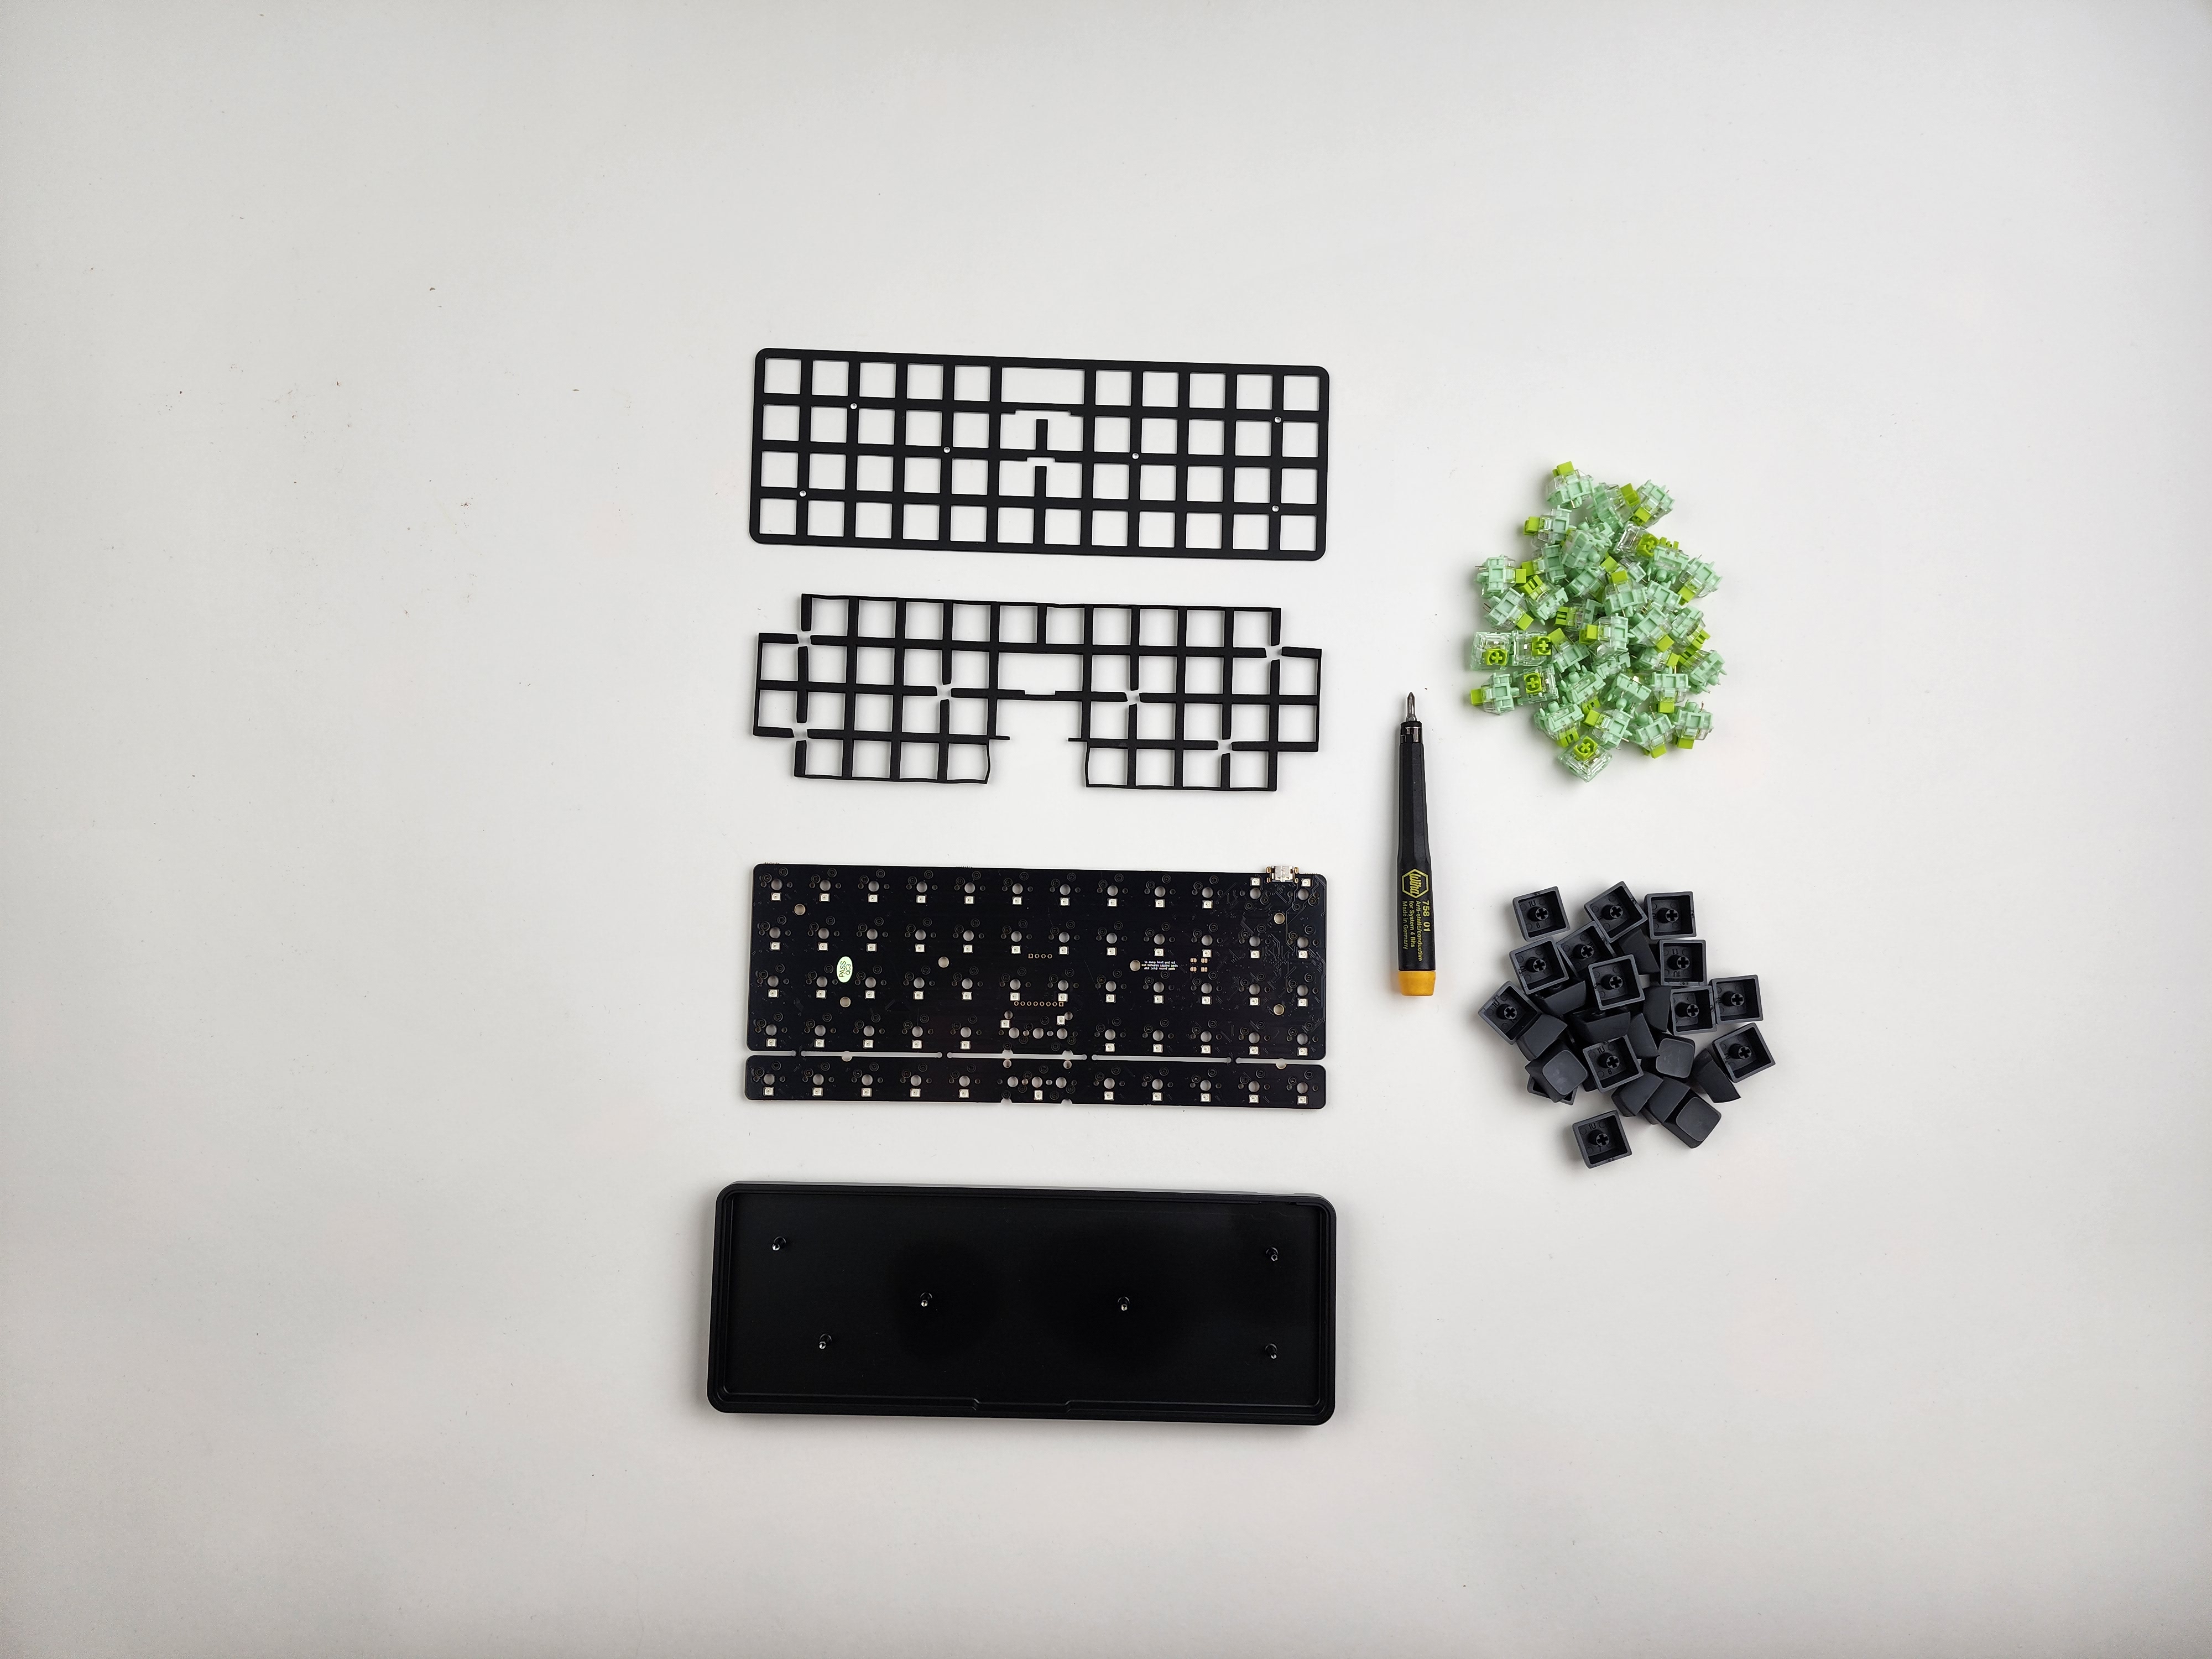
Parts
Required
| Item | Count |
|---|---|
| Equals Case | 1 |
| Equals PCB | 1 |
| Switches | 48 or 60 |
| Keycaps | 48 or 60 |
Optional
| Item | Count |
|---|---|
| 2u Stabilizer | 1 |
| 2u Keycap | 1 |
This build guide is designed to work seamlessly with all Equals keyboard kits, offering compatibility with both MX and Choc switches, as well as the choice between 48 or 60 layouts. Notably, when assembling an Equals 60 keyboard, there is no requirement to snap off the PCB, simplifying the process. Furthermore, for Choc builds, the PCB eliminates the need for a stabilizer, further streamlining the assembly. This user-friendly guide ensures a smooth and hassle-free experience across different Equals keyboard variations, accommodating diverse preferences and needs with clarity and precision.
Step 1 The Break!
Important READ!
If you're assembling an Equals 60 keyboard, you can skip Step 1 in the guide, which involves snapping off the PCB. It's essential to highlight that once the PCB is snapped, it's a permanent change. However, this step is unique to the Equals 48 / 4x12 layout and doesn't apply to the Equals 60 / 5x12 layout. This adjustment simplifies the assembly process and maintains the keyboard's integrity by avoiding irreversible modifications.
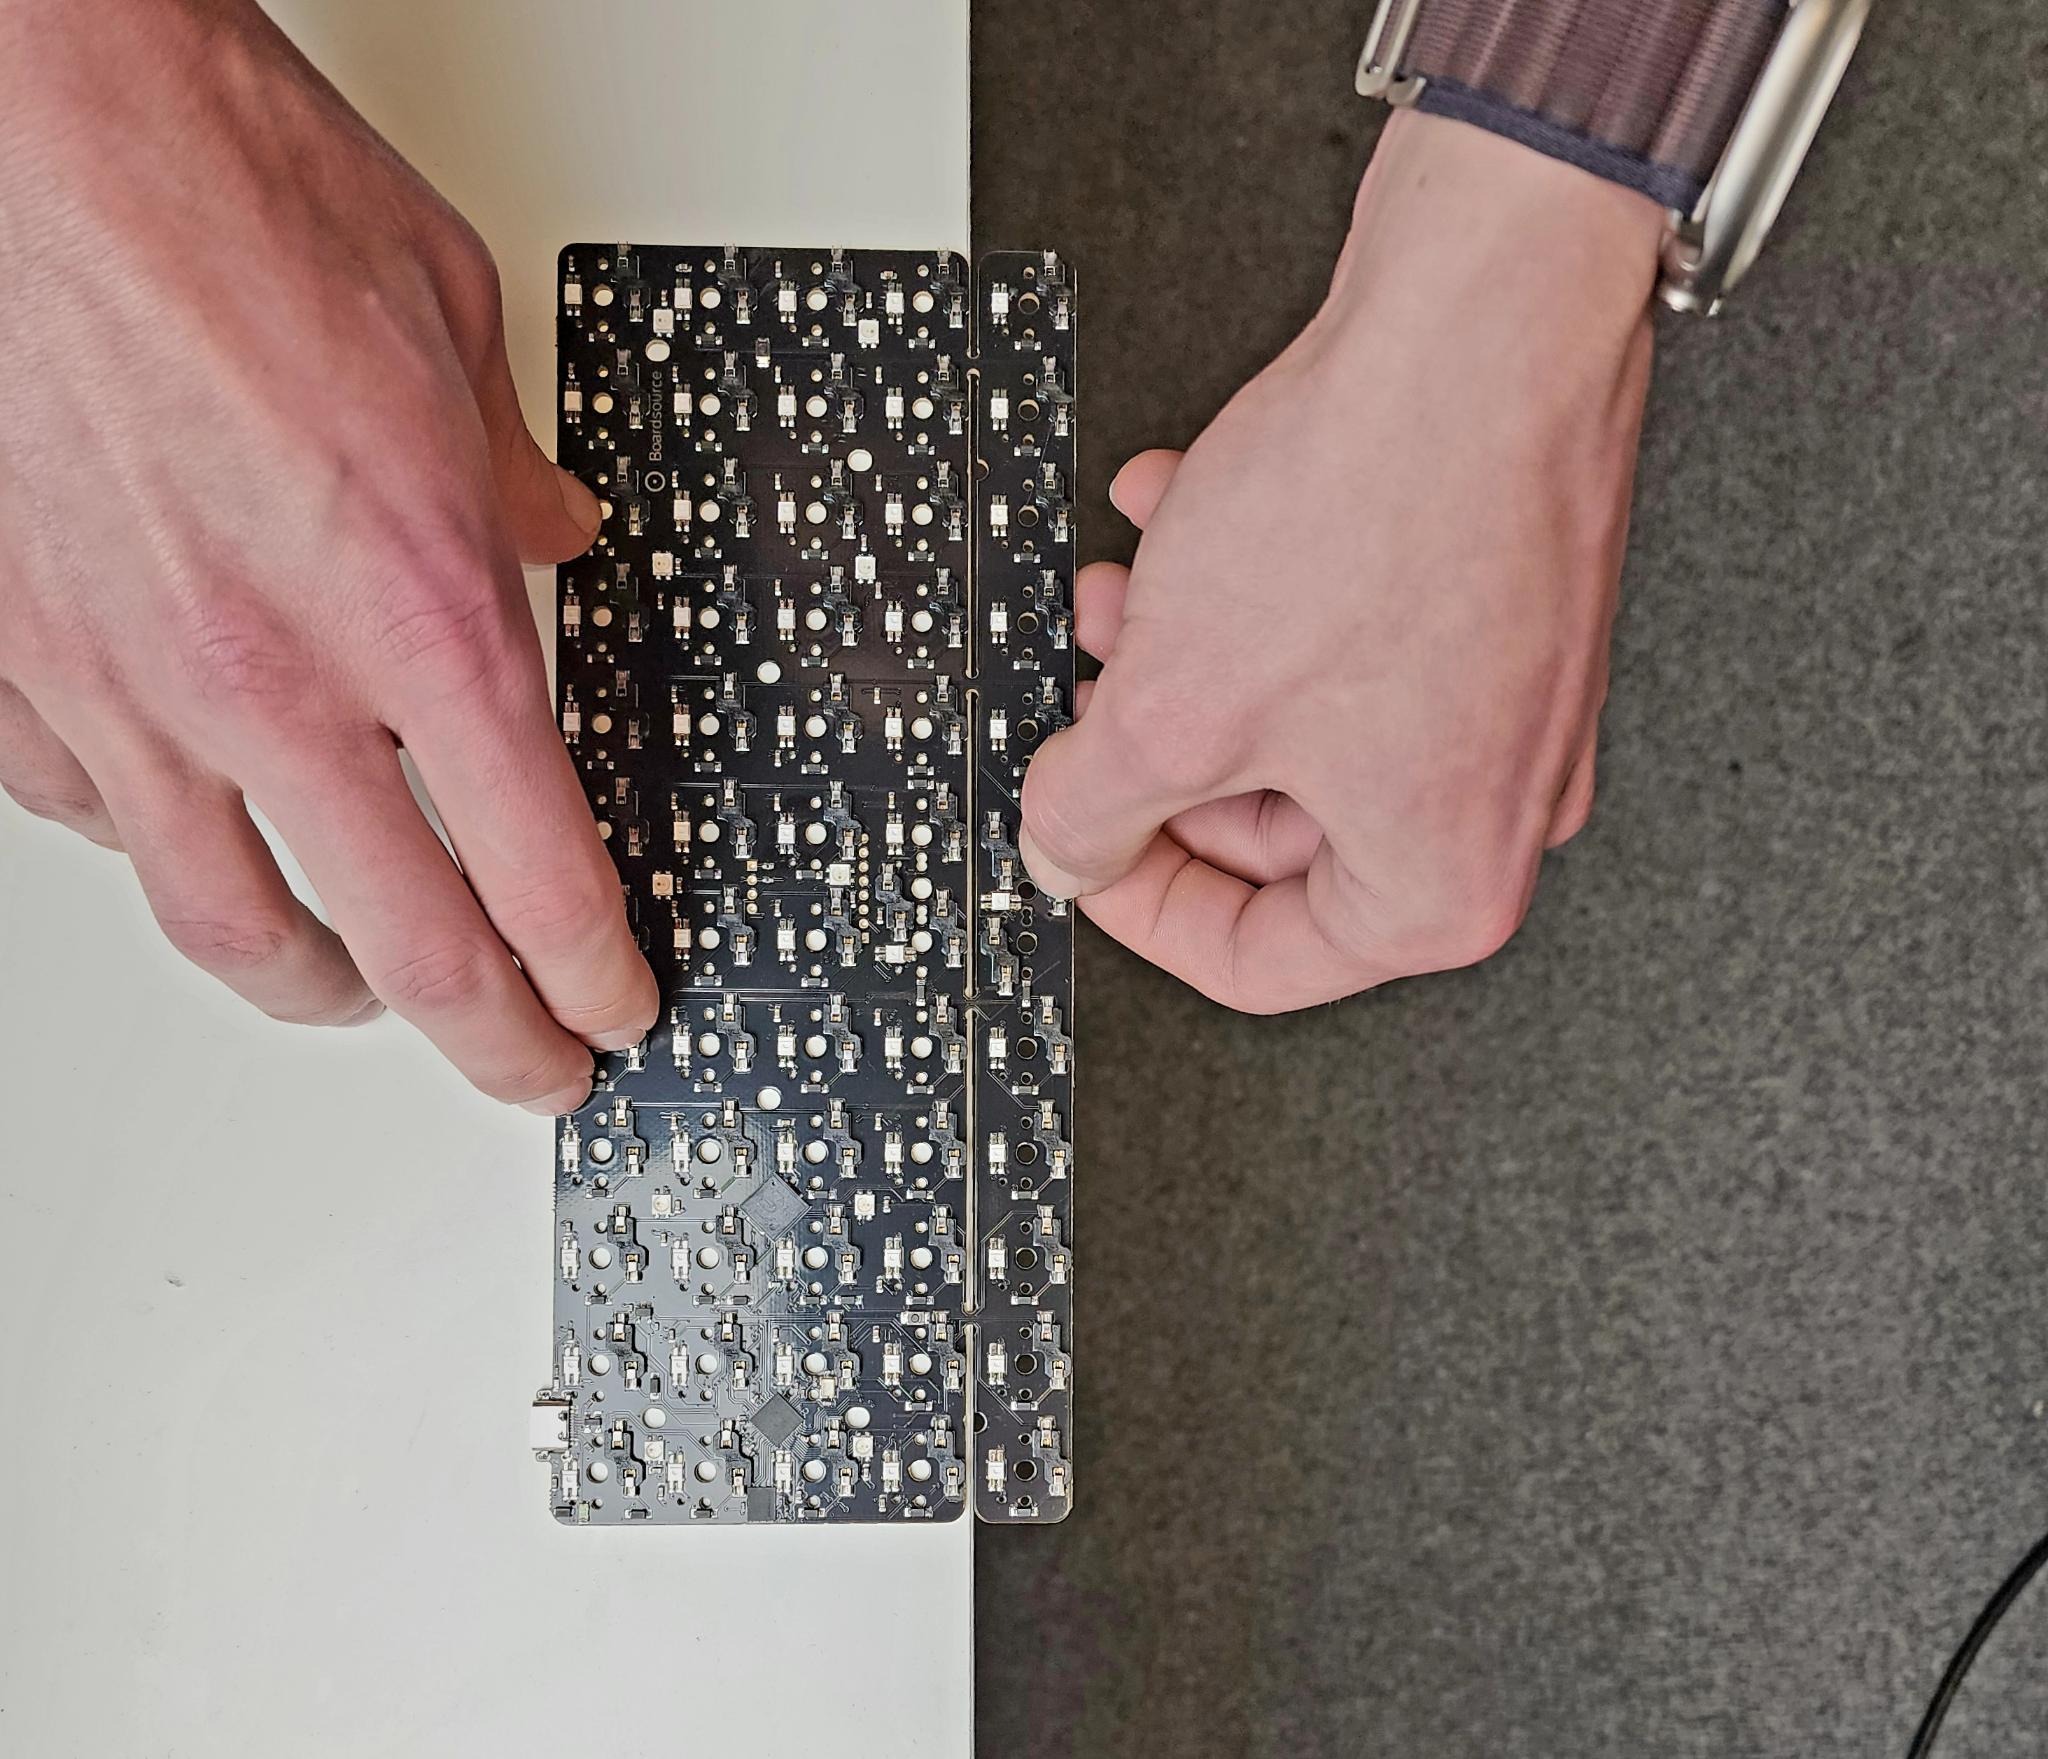
For Equals 48 / 4x12
Hold the PCB and slowly bend the bottom row until you here it snap, working up and down the length of the keyboard. The safest way to do this is to find an edge of a desk or table, and push down to break the bottom row off. This ensures that you won't accidentally damage the board, while breaking, and it will take a lot less effort to break
Note on Technik Case: For builds in a Technik case Depending on how the snap goes you may need to trim / sand the Broken ends for the PCB to fit in the case.


Step 2 Line it up.
Aligning the plate, plate foam, and PCB is a straightforward process, as they are designed to fit together in only one specific orientation. Ensuring proper alignment is crucial for optimal performance and stability. Just take your time to make sure the missing intersections in the late foam line up with the post holes on the PCB and the screw holes in the plate line up with the same post holes.
You should be left with a stack that sits:
- FR4 Plate
- Foam
- PCB
Note on Choc Builds: Due to the shorter height there is not enough space between the plate and the PCB for foam so no foam is required(or included).
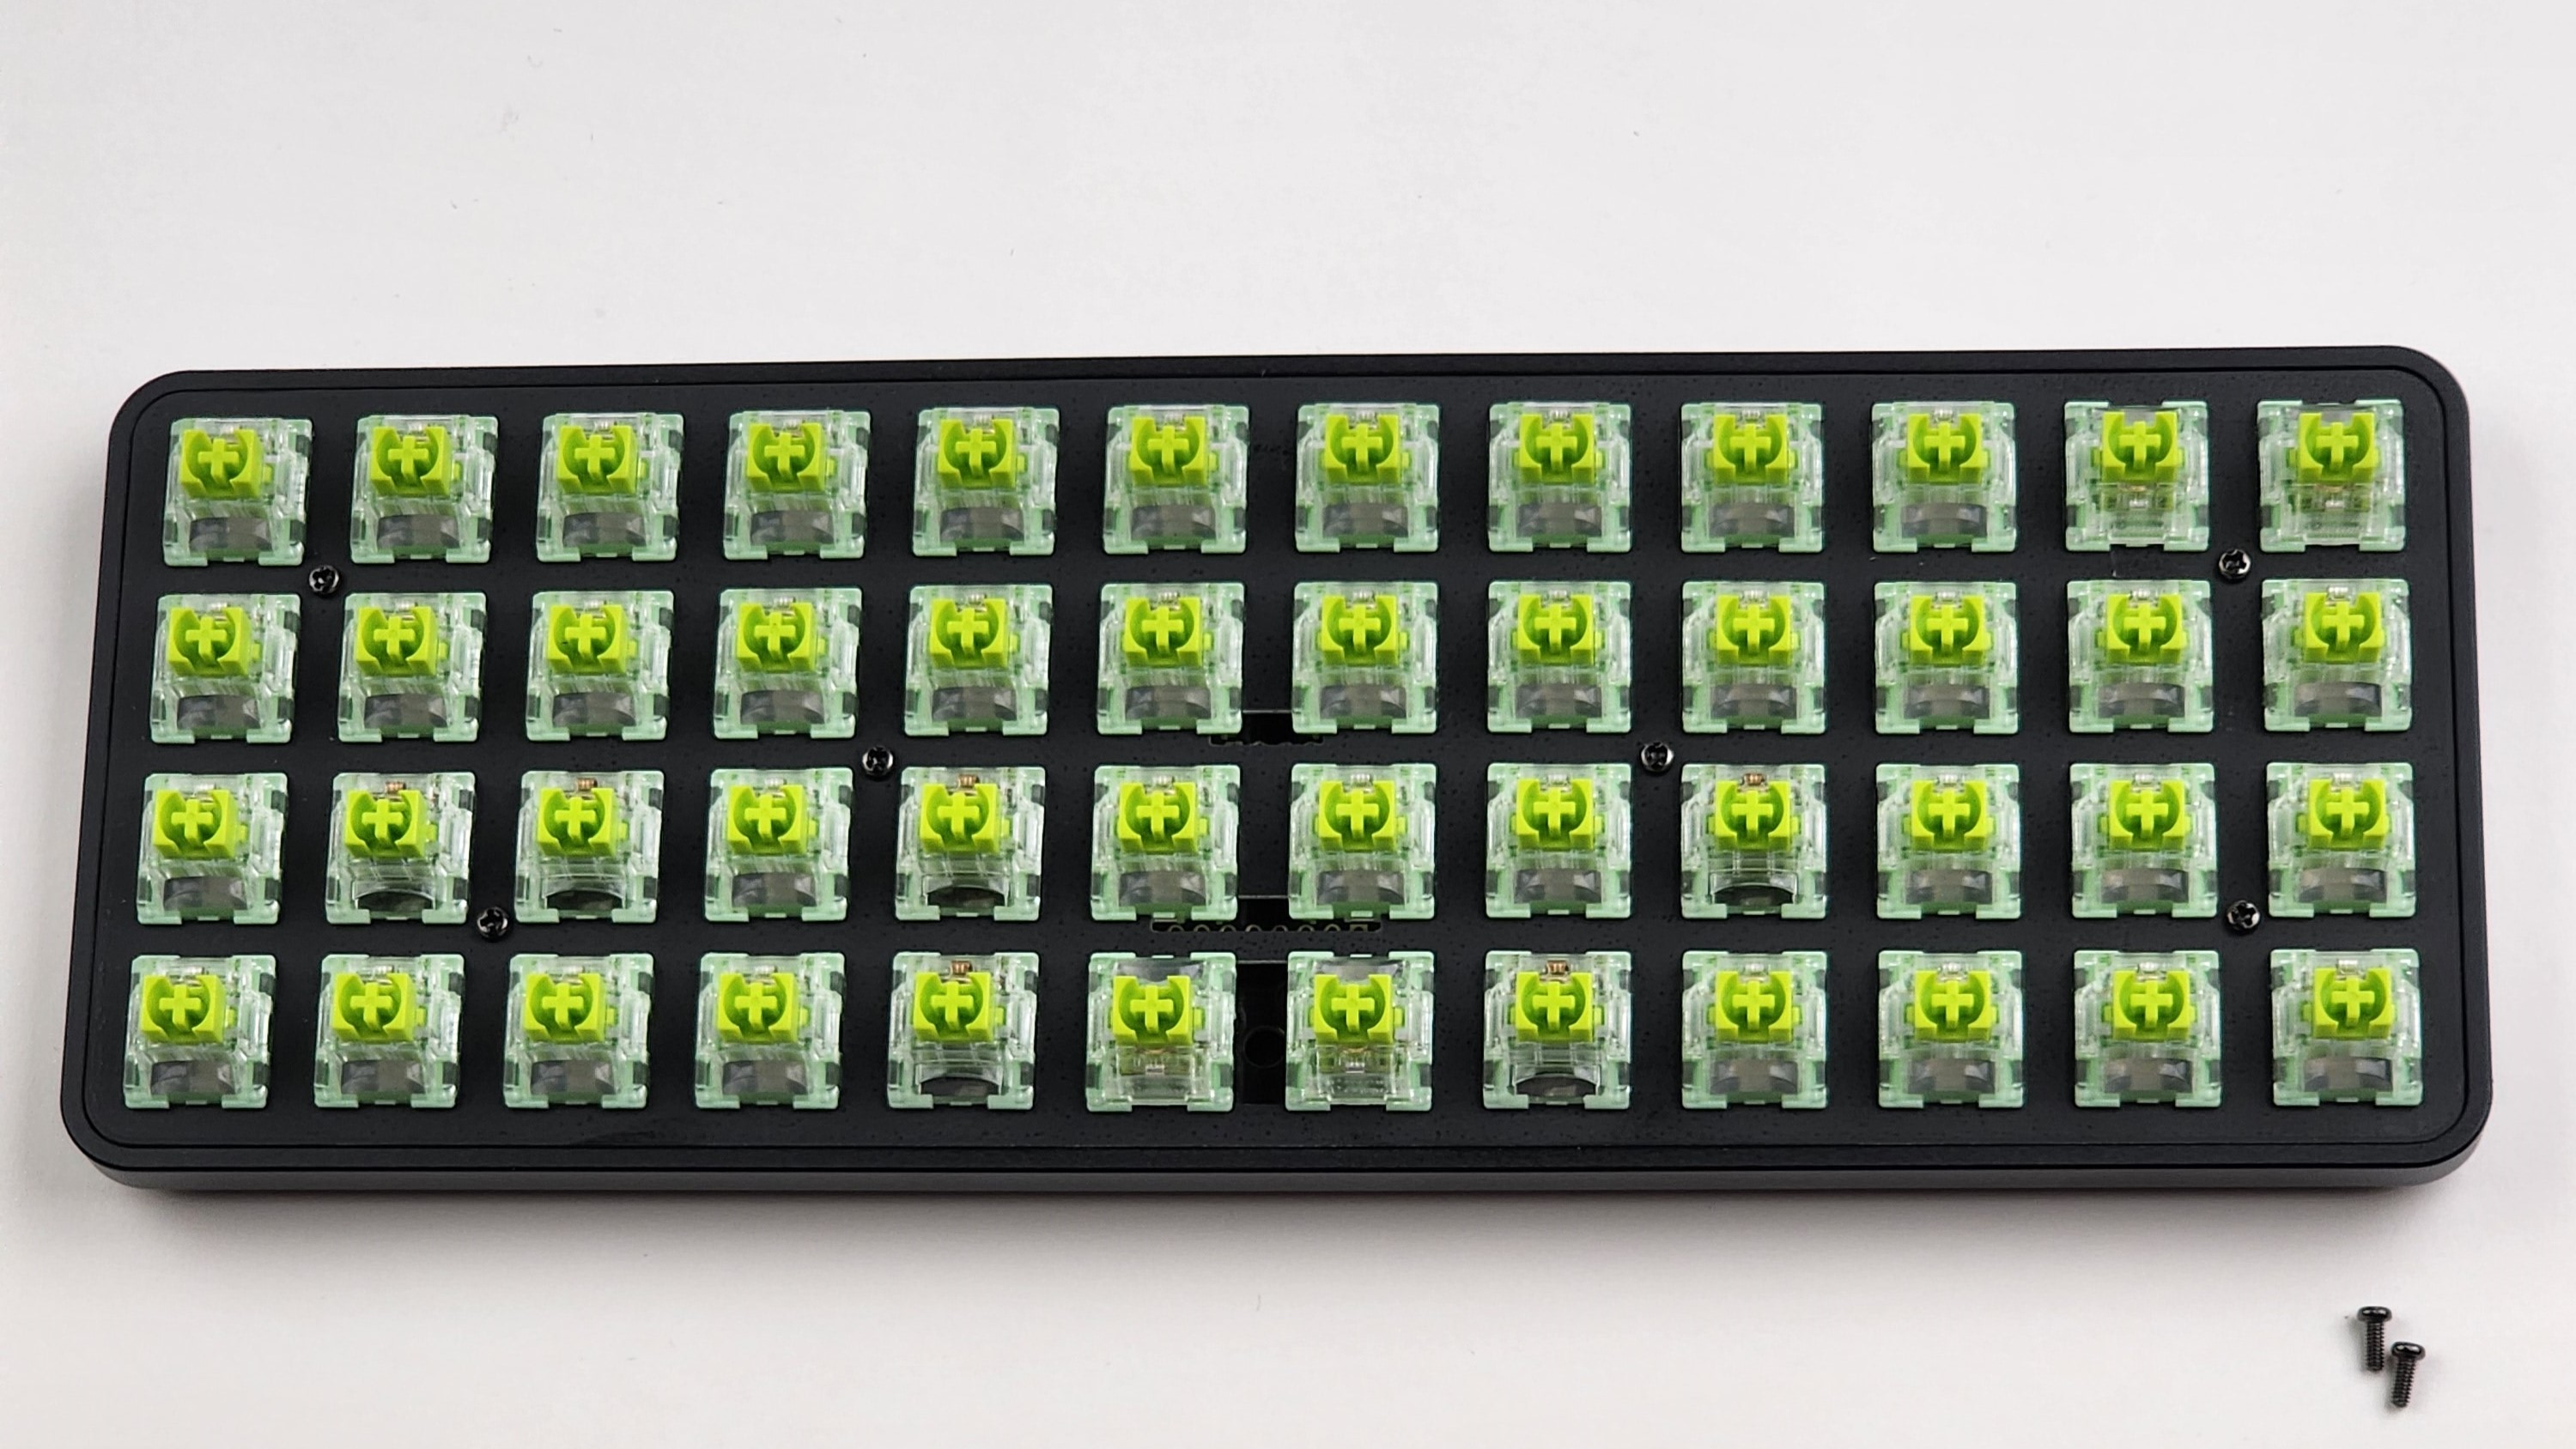
Step 3 Put the Switches in!
Now that all the holes line up you can insert your switches. Make sure that you line up the metal pins on the switch with the hotswap on the PCB each switch can only go in one way to work. When inserting your switch support the back of the hotswap to insure you dont break the PCB while installing switches (which can happen if the switch is miss aligned.)
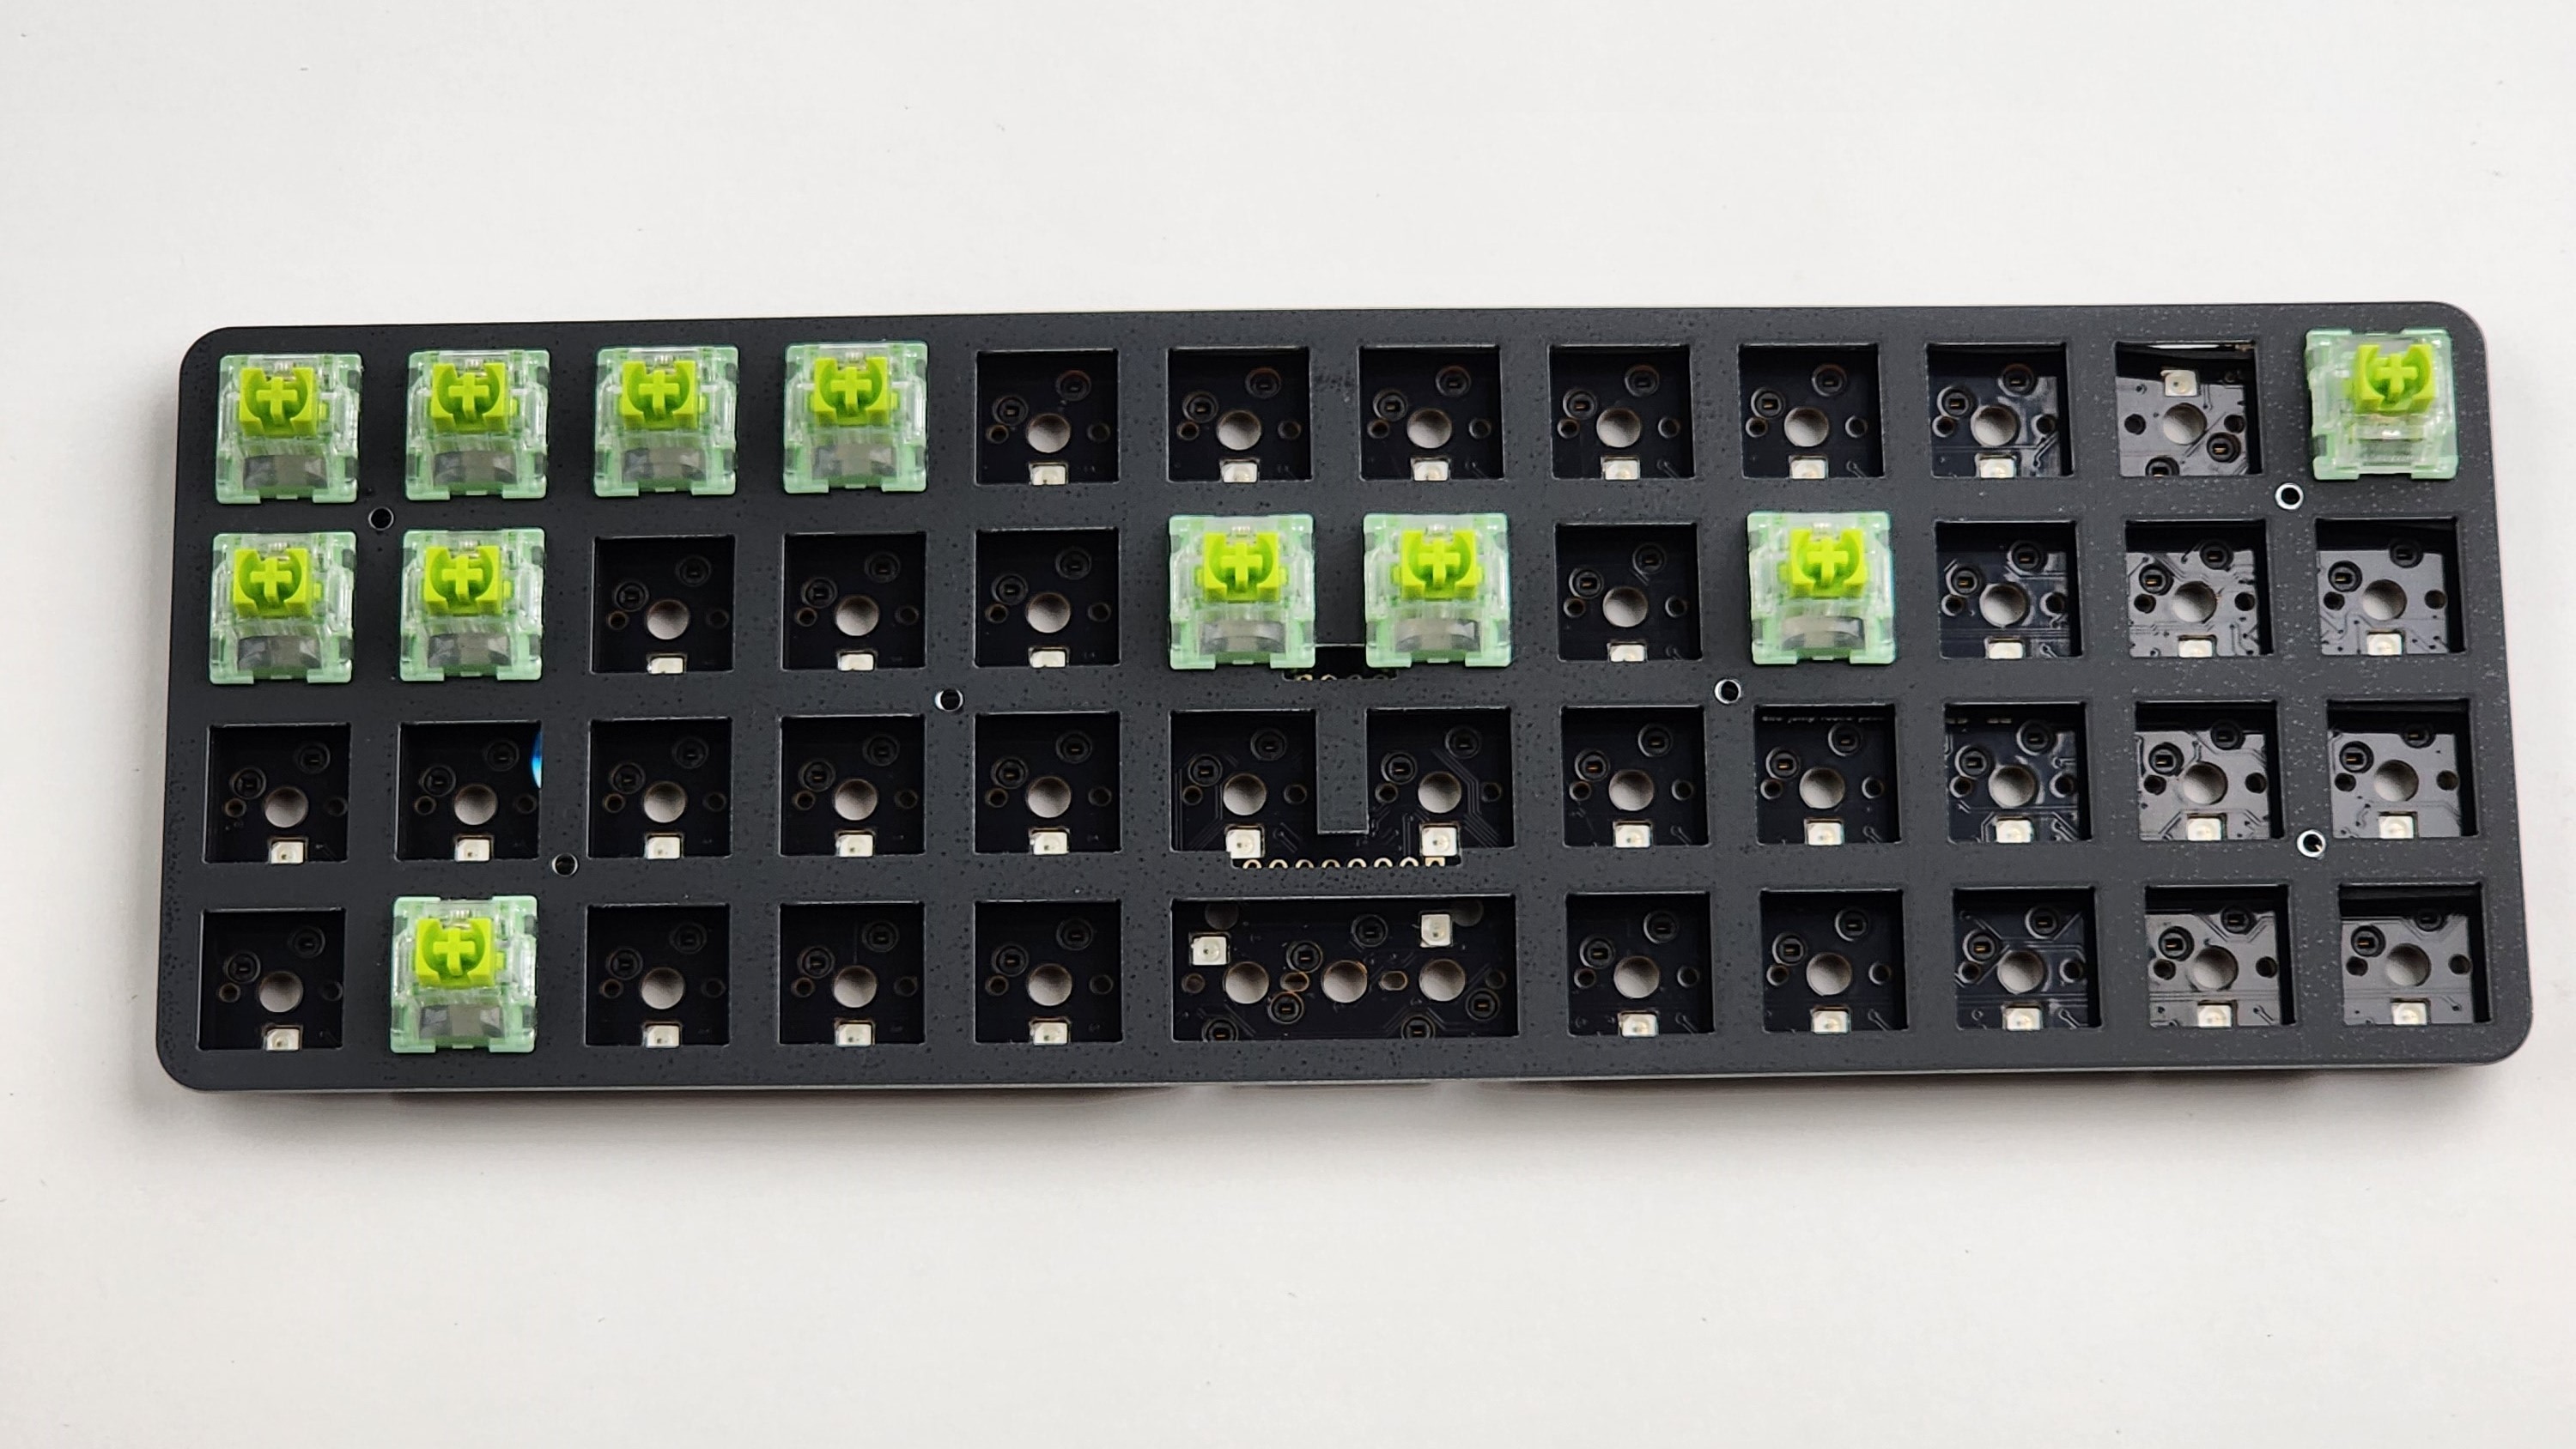
Now you can test your PCB to make sure every switch works if not pop out the switch that does not work and check for bent pins.
Step 4 Getting so Close.
Drop your PCB / Plate / Switch assembly into the case.
Screw in the plate, there are 6 screws needed and 10 included. This is where you need your screwdriver.
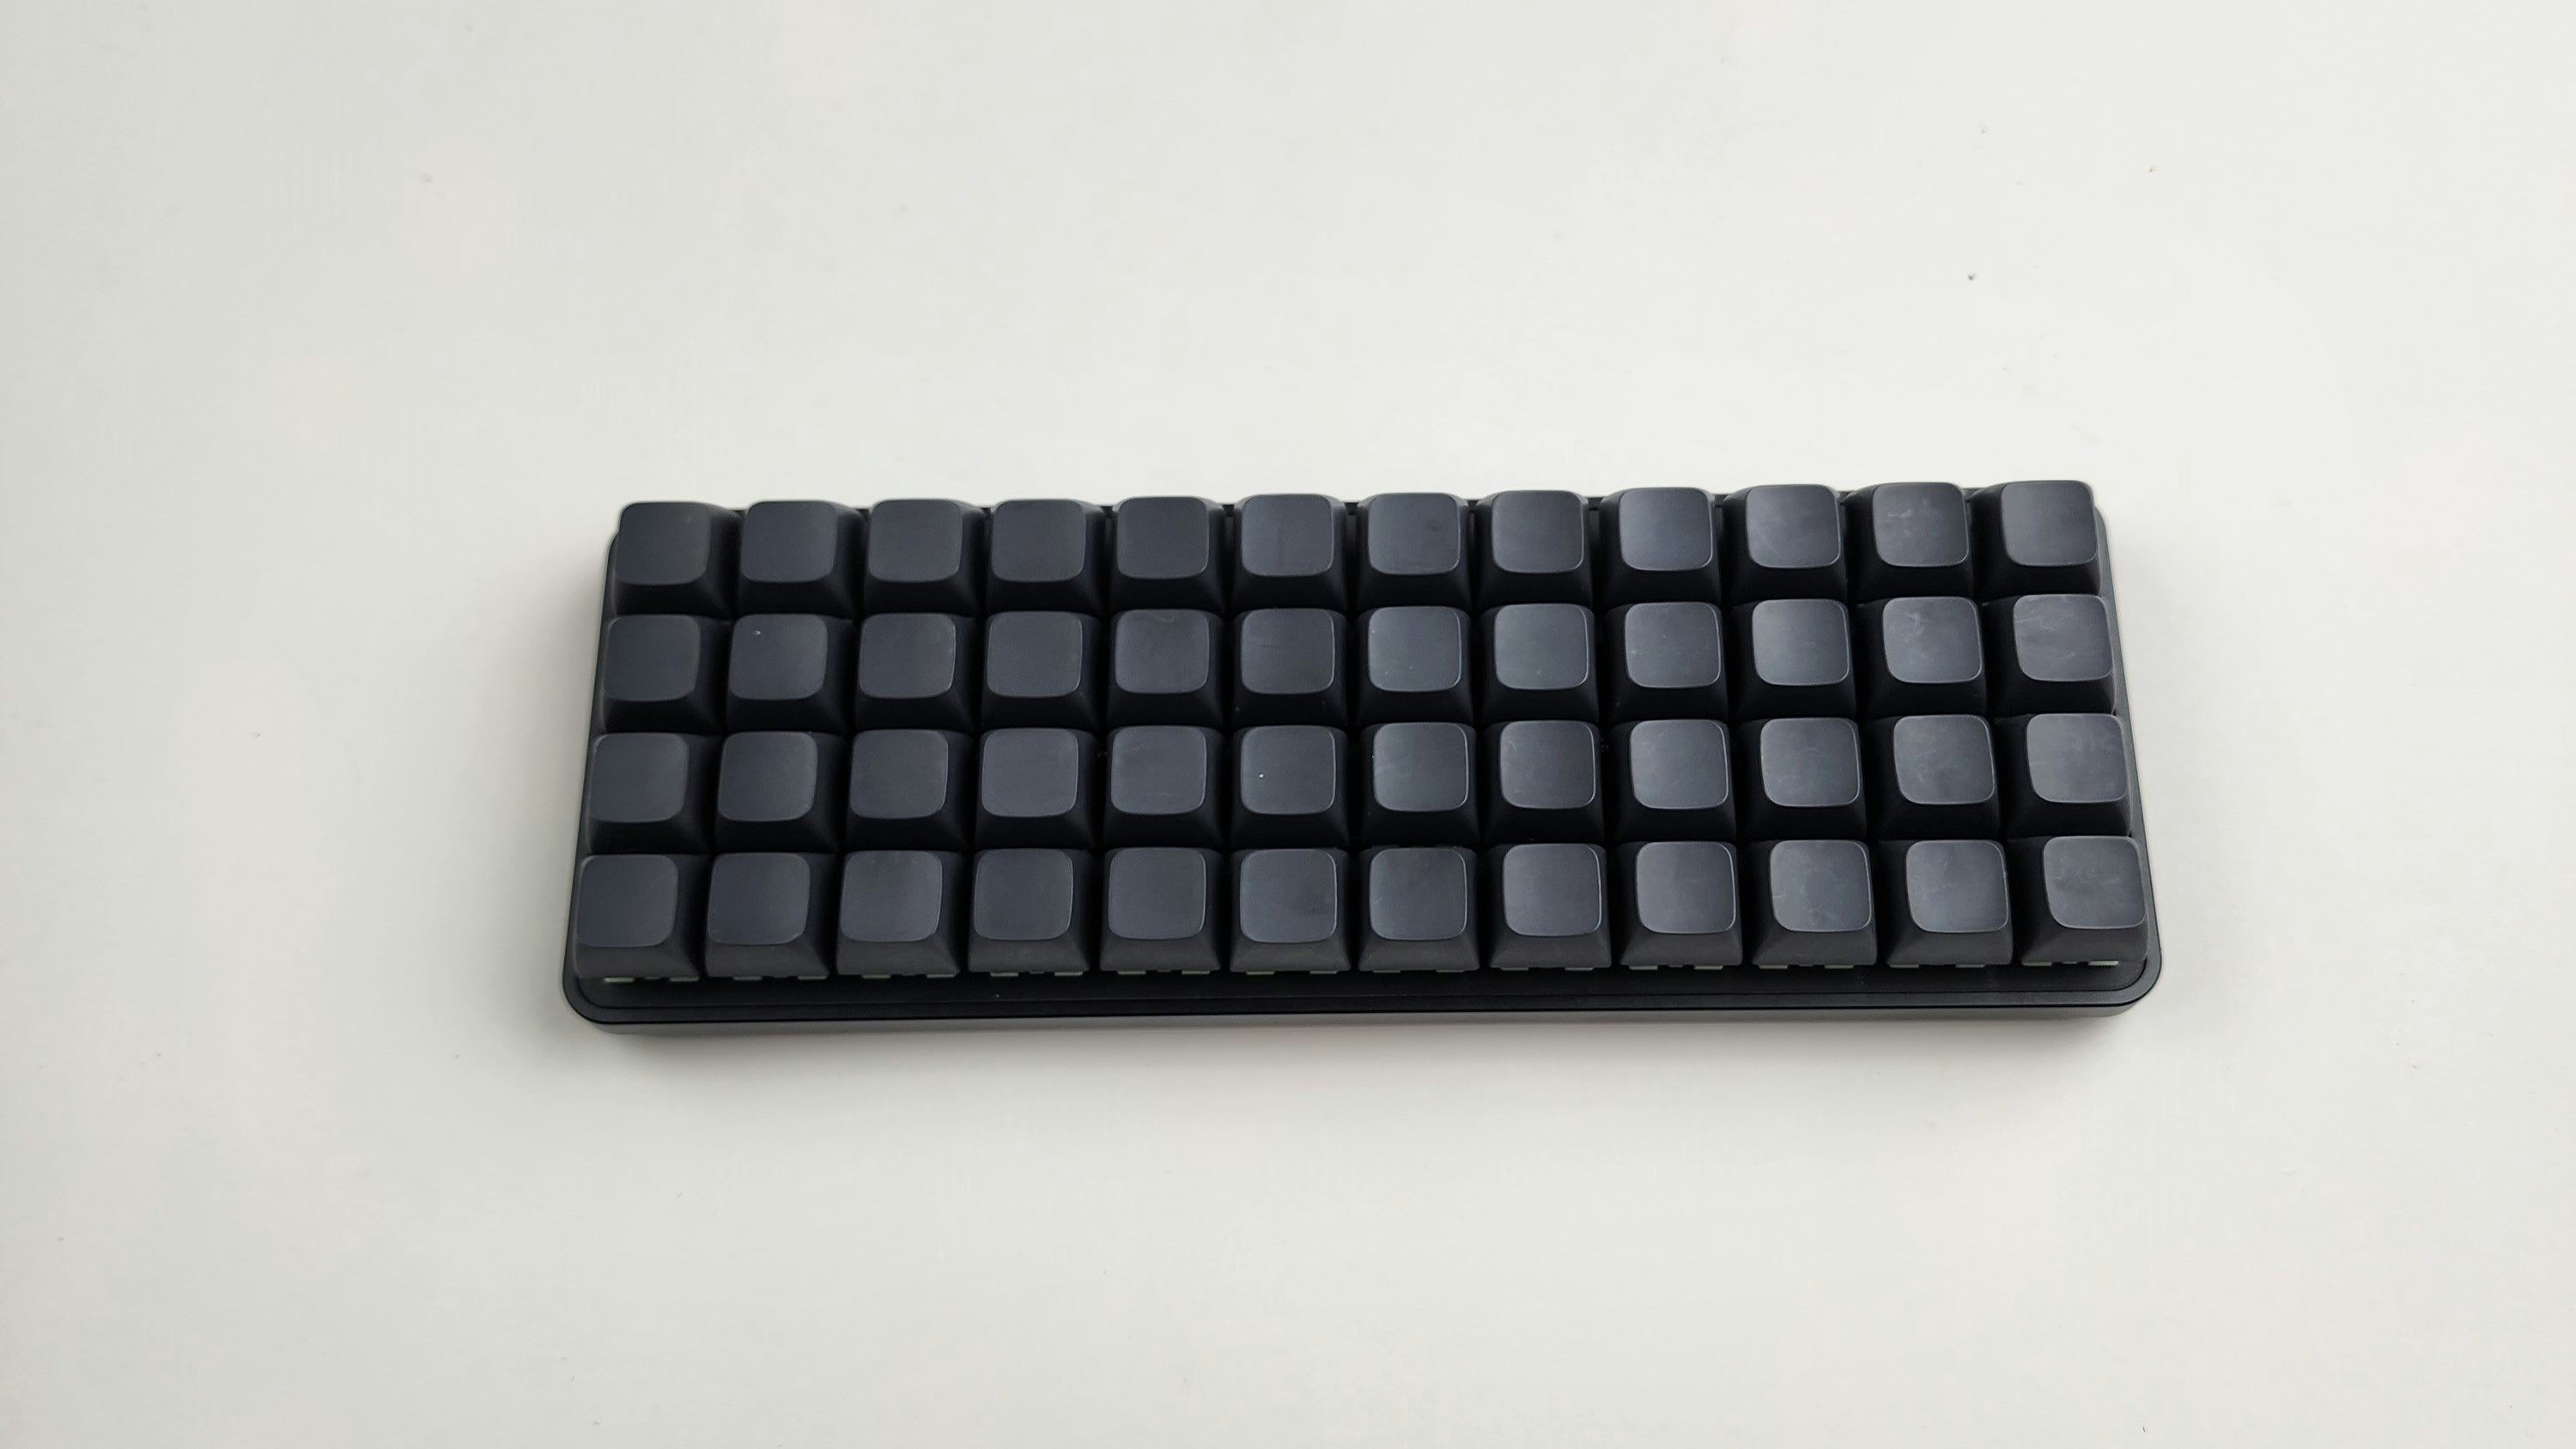
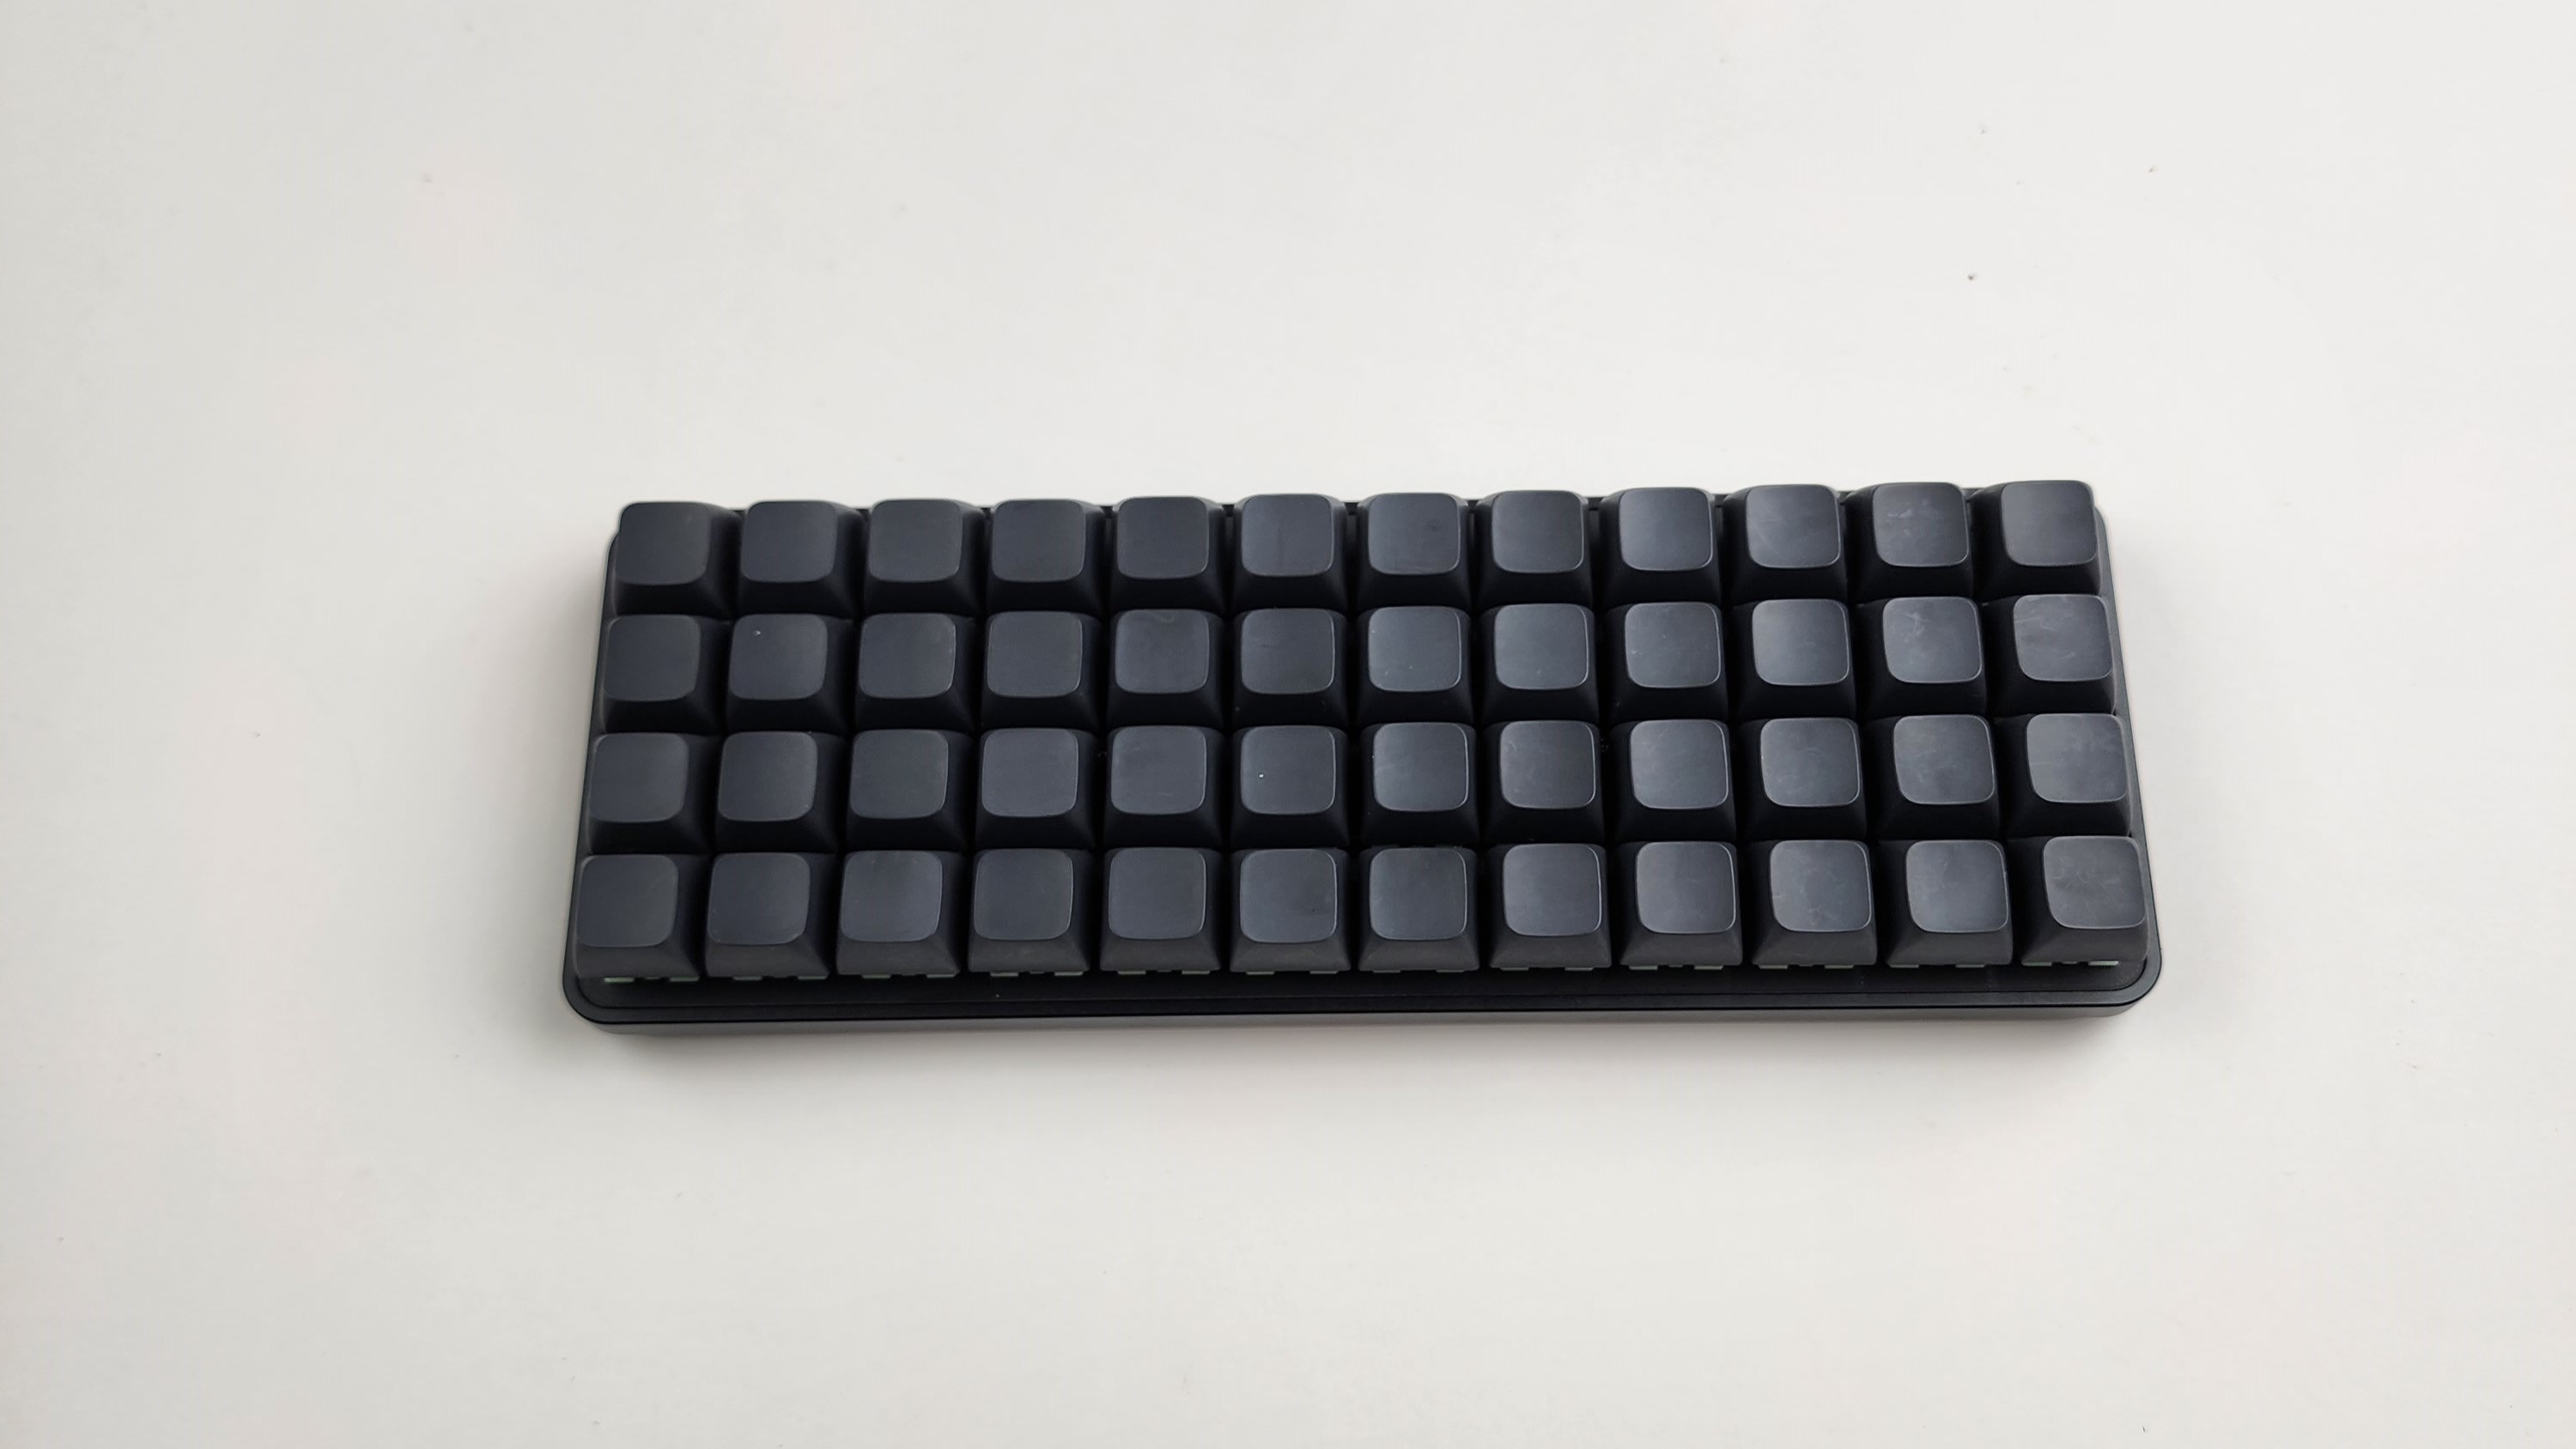
Step 5 Enjoy
Throw your favorite keycap set on and enjoy your new ortho keyboard.
Thank you for buying a Equals keyboard from Boardsource we really hope you enjoy it.
Here are some links to other articles that may help you get the most out of your new keyboard:
- Learn more about your PCB Guide to the new Equals PCB
- Get the most out of your PCB Unleashing the High-Tech Power of Custom Keyboards
- Keyboard Programing
Extra
For questions, ask in Boardsource Discord server