Required Tools
| Item | Count |
|---|---|
| P1 Phillips Screwdriver | 1 |
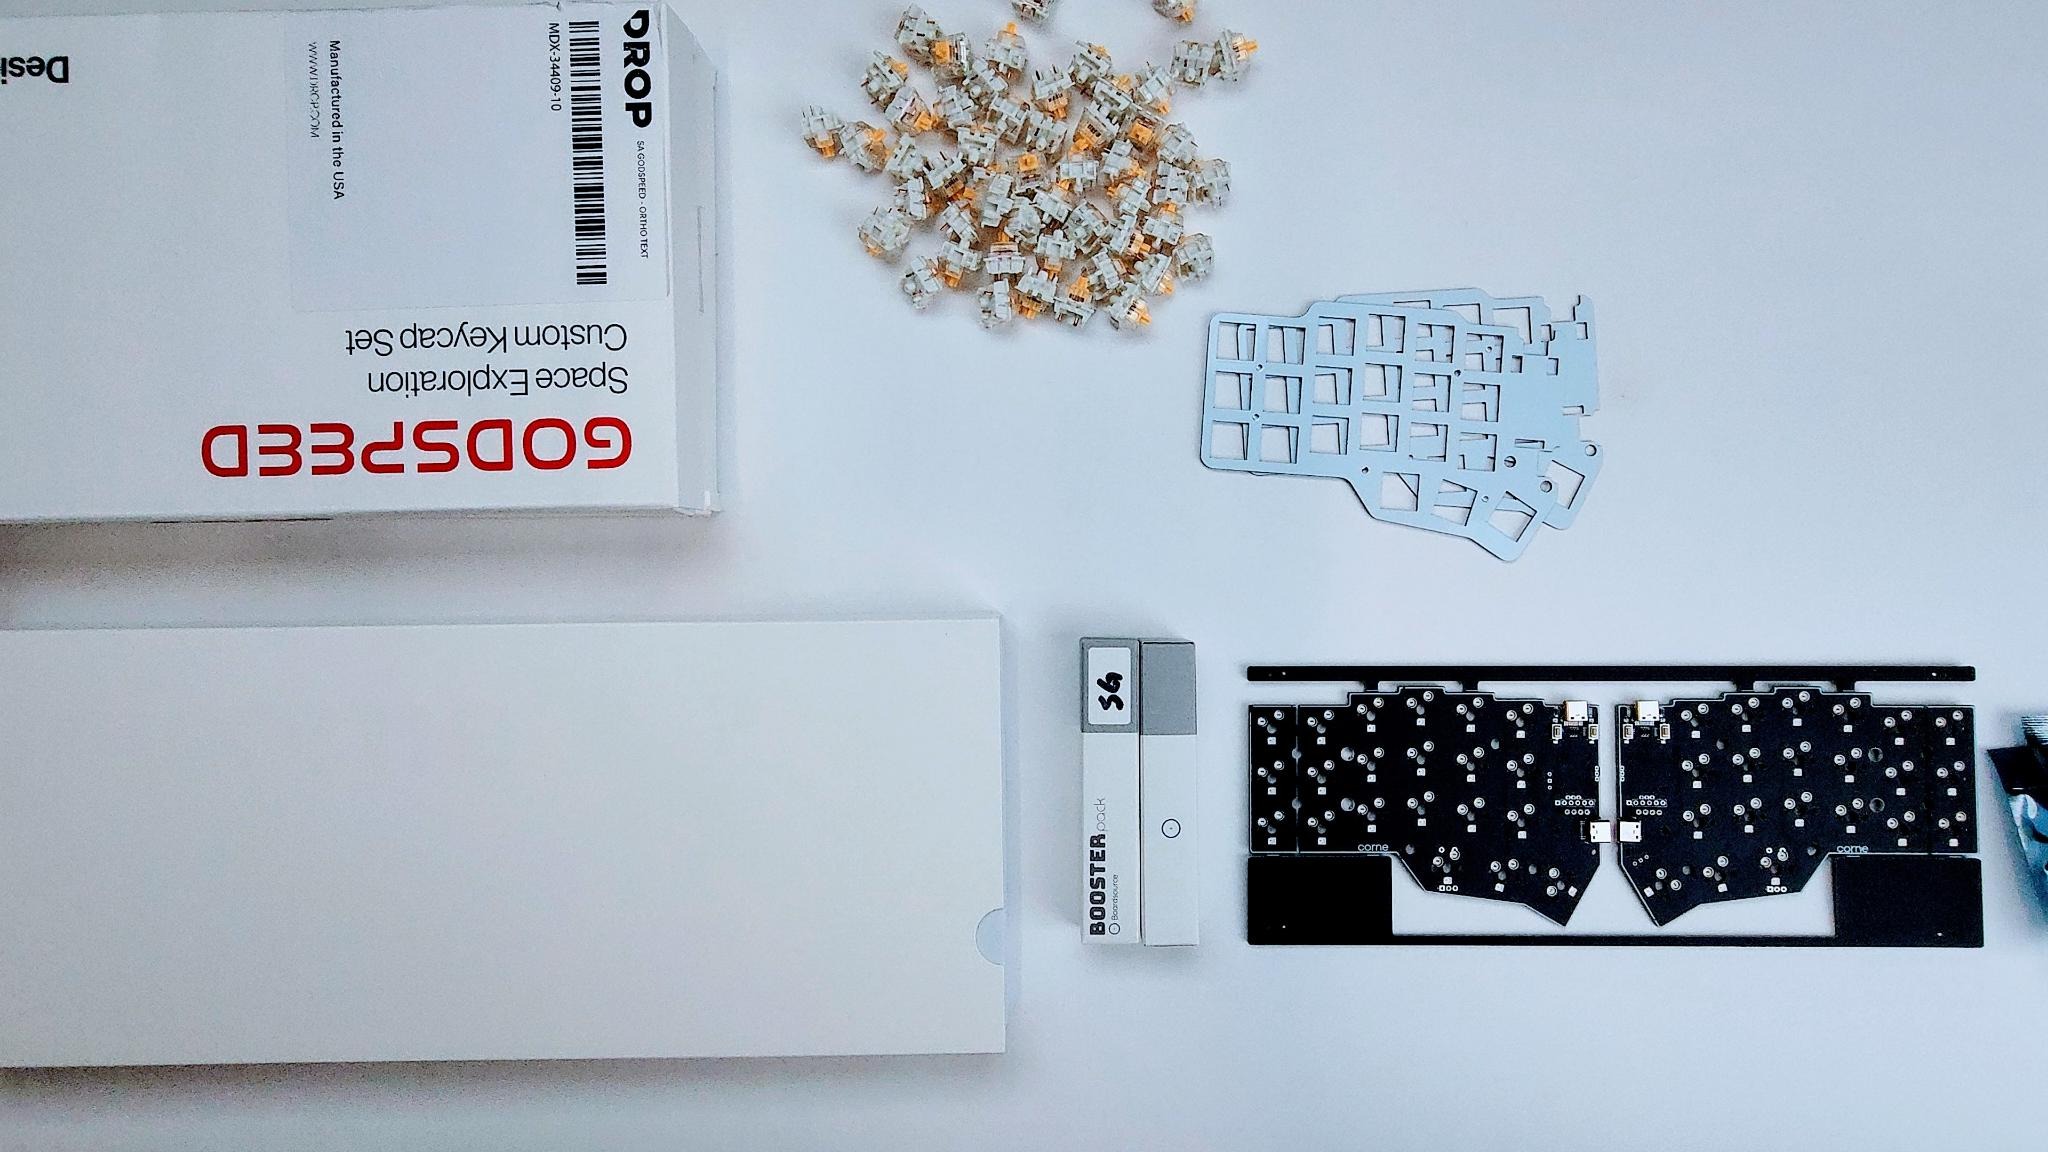
Parts
Required
| Item | Count |
|---|---|
| Unicorne Case | 1 |
| Unicorne PCB | 1 |
| Switches | 42 |
| Keycaps | 42 |
Optional
| Item | Count |
|---|---|
| Oled Screen | 1-2 |
| FJ08K Joystick | 1 |
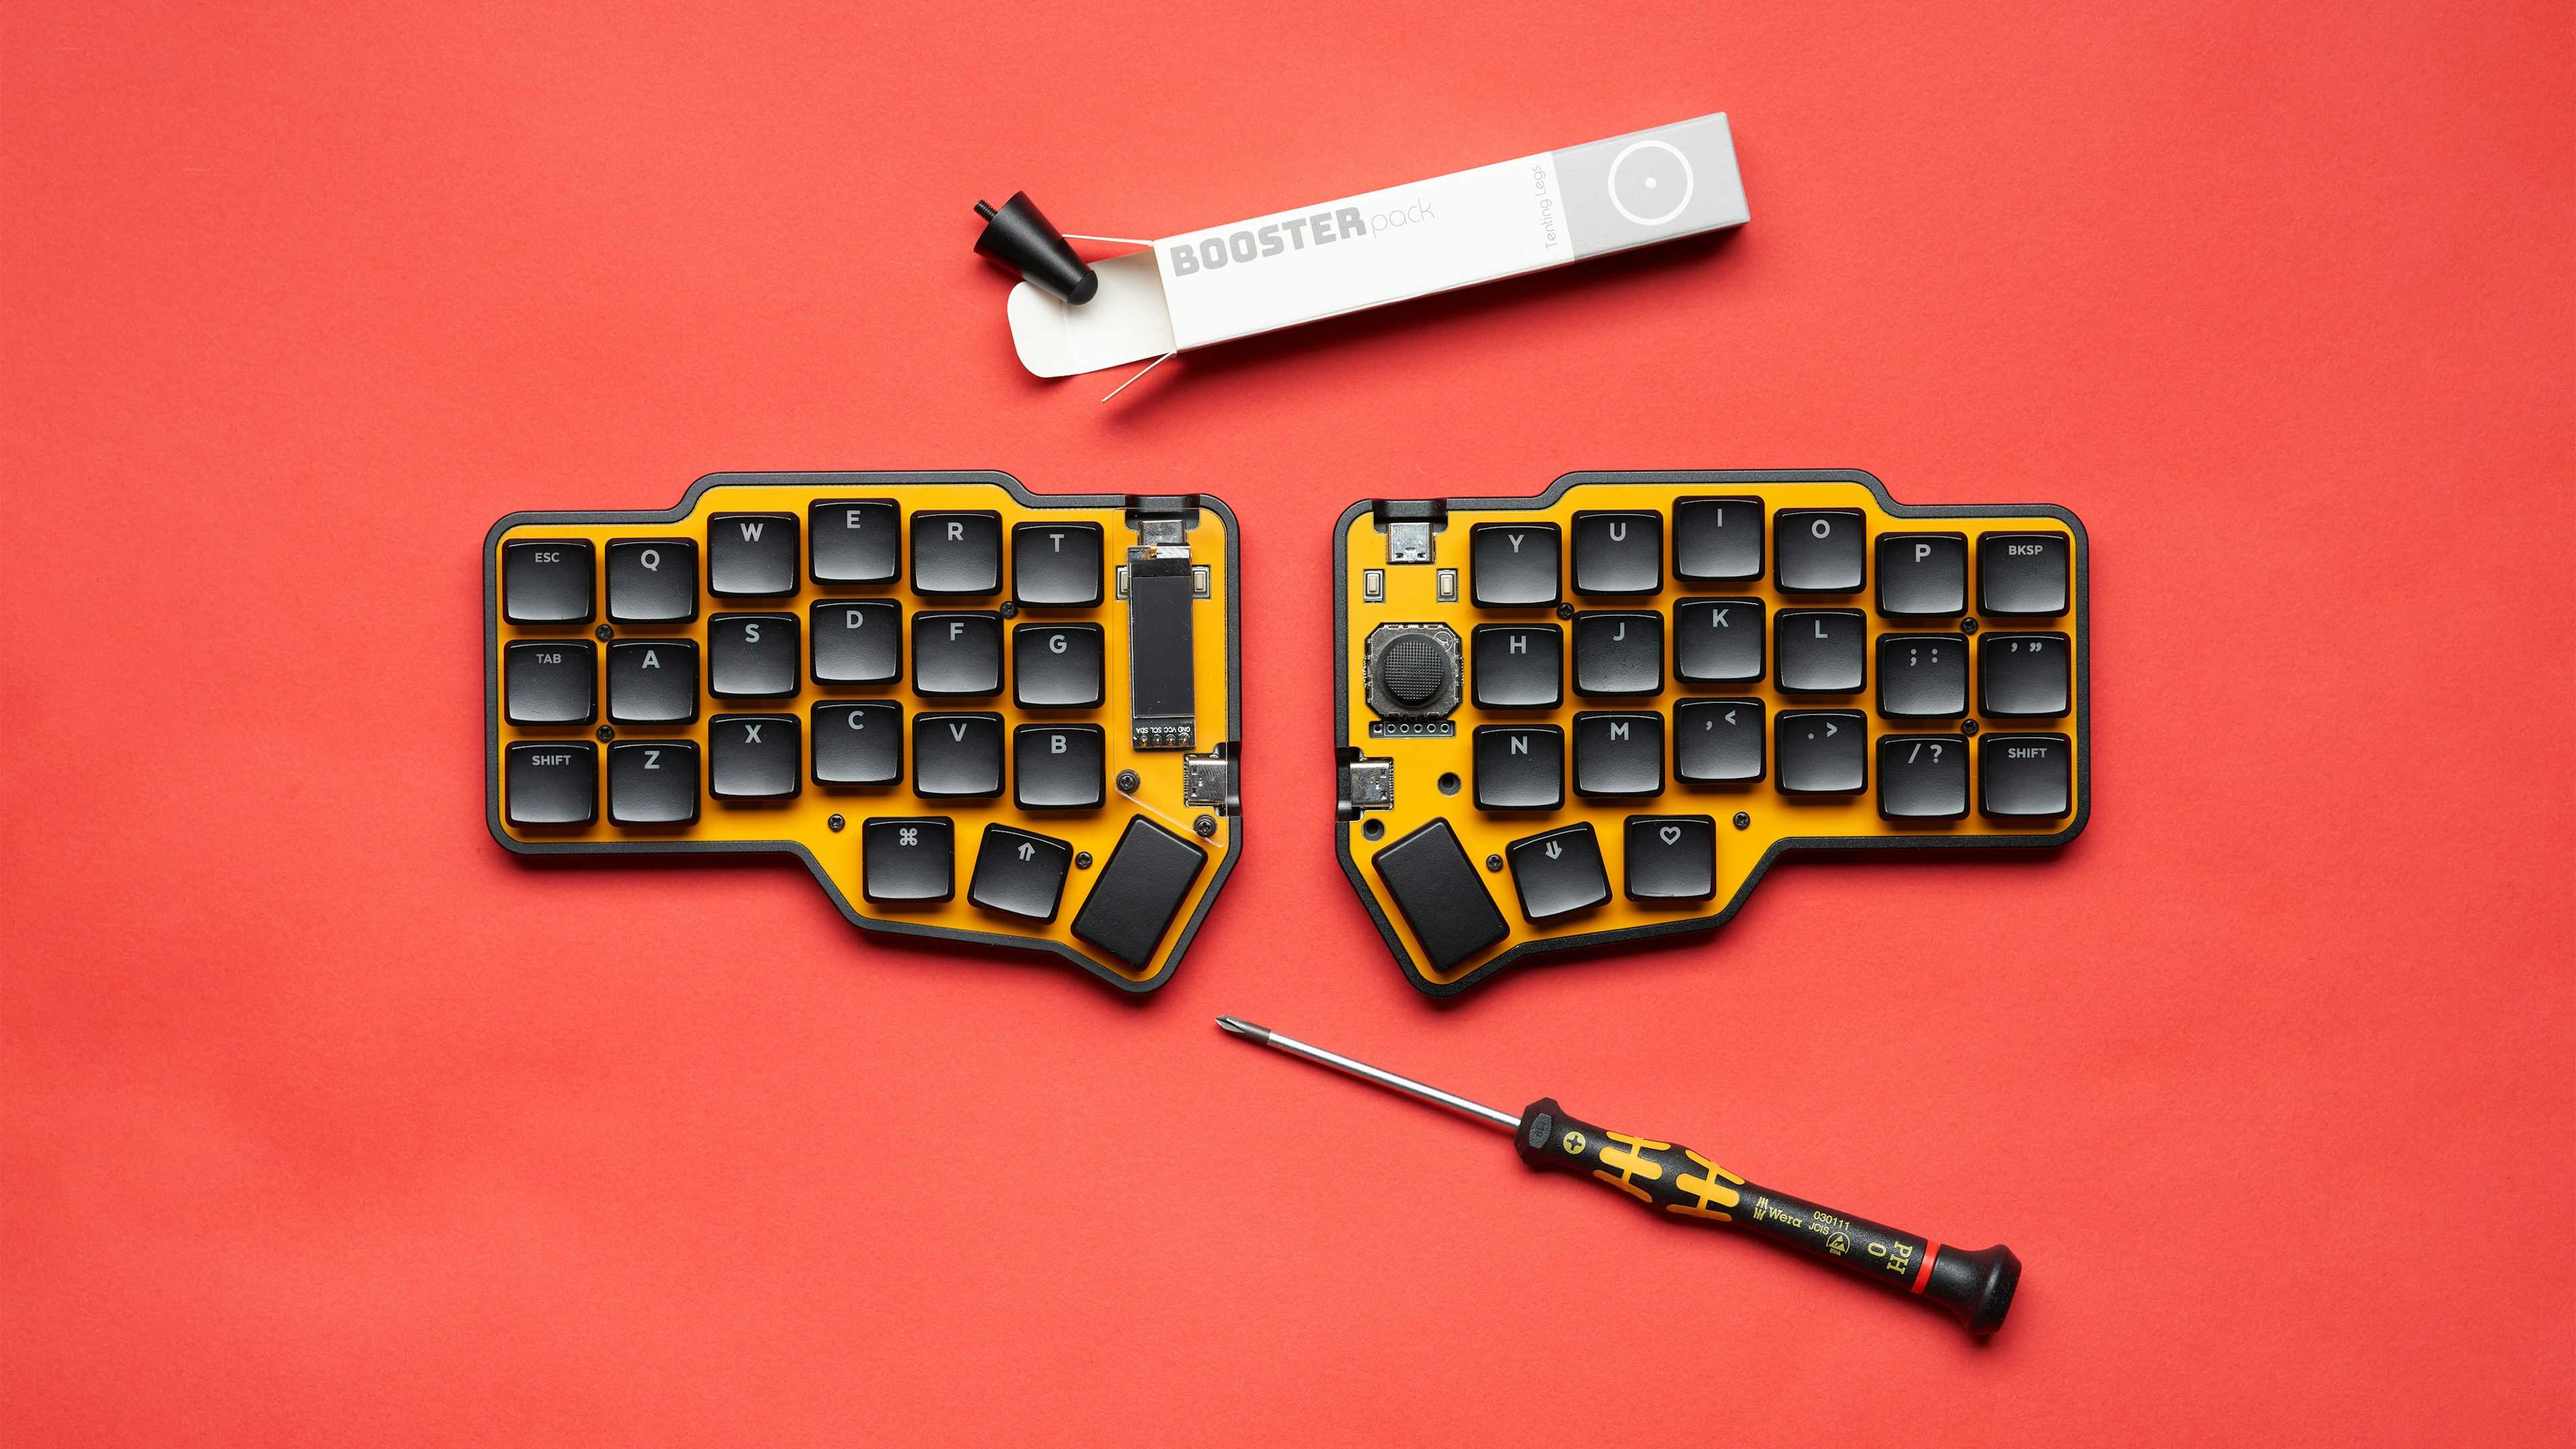
| Tenting Kit | 1 |
This build guide is designed to work seamlessly with all Unicorne keyboard kits, offering compatibility with both MX and Choc switches, as well as the choice between Unicorne and legacy CRKBD pcb.
Step 1 The Break!
Before you get going the Unicorne pcb has rails on the pcb from assembly, these need to be broken off and discarded.
.gif)
Step 2 Line it up.
Aligning the plate, plate foam, and PCB is a straightforward process, as they are designed to fit together in only one specific orientation. Ensuring proper alignment is crucial for optimal performance and stability. Just take your time to make sure the switch holes line up between the plate->foam->pcb.
You should be left with a stack that sits:
- FR4 Plate
- Foam
- PCB
Note on Choc Builds: Due to the shorter height there is not enough space between the plate and the PCB for foam so no foam is required(or included).
.gif)
Step 3 Put the Switches in!
Now that all the holes line up you can insert your switches. Make sure that you line up the metal pins on the switch with the hotswap on the PCB each switch can only go in one way to work. When inserting your switch support the back of the hotswap to insure you dont break the PCB while installing switches (which can happen if the switch is miss aligned.)
.gif)
Now you can test your PCB to make sure every switch works if not pop out the switch that does not work and check for bent pins.
Step 4 Installing OLED Covers.
Start by installing the 10mm post on the PCB through the plate, this is the mounting point for the OLED Cover.
.gif)
.gif)
Next you can install the acrylic covers onto the post.
NOTE: When installing joysticks you can't have the acrylic cover on the joystick.
Step 5 Getting so Close.
Drop your PCB / Plate / Switch assembly into the case. Screw it in using the screws included with your case.
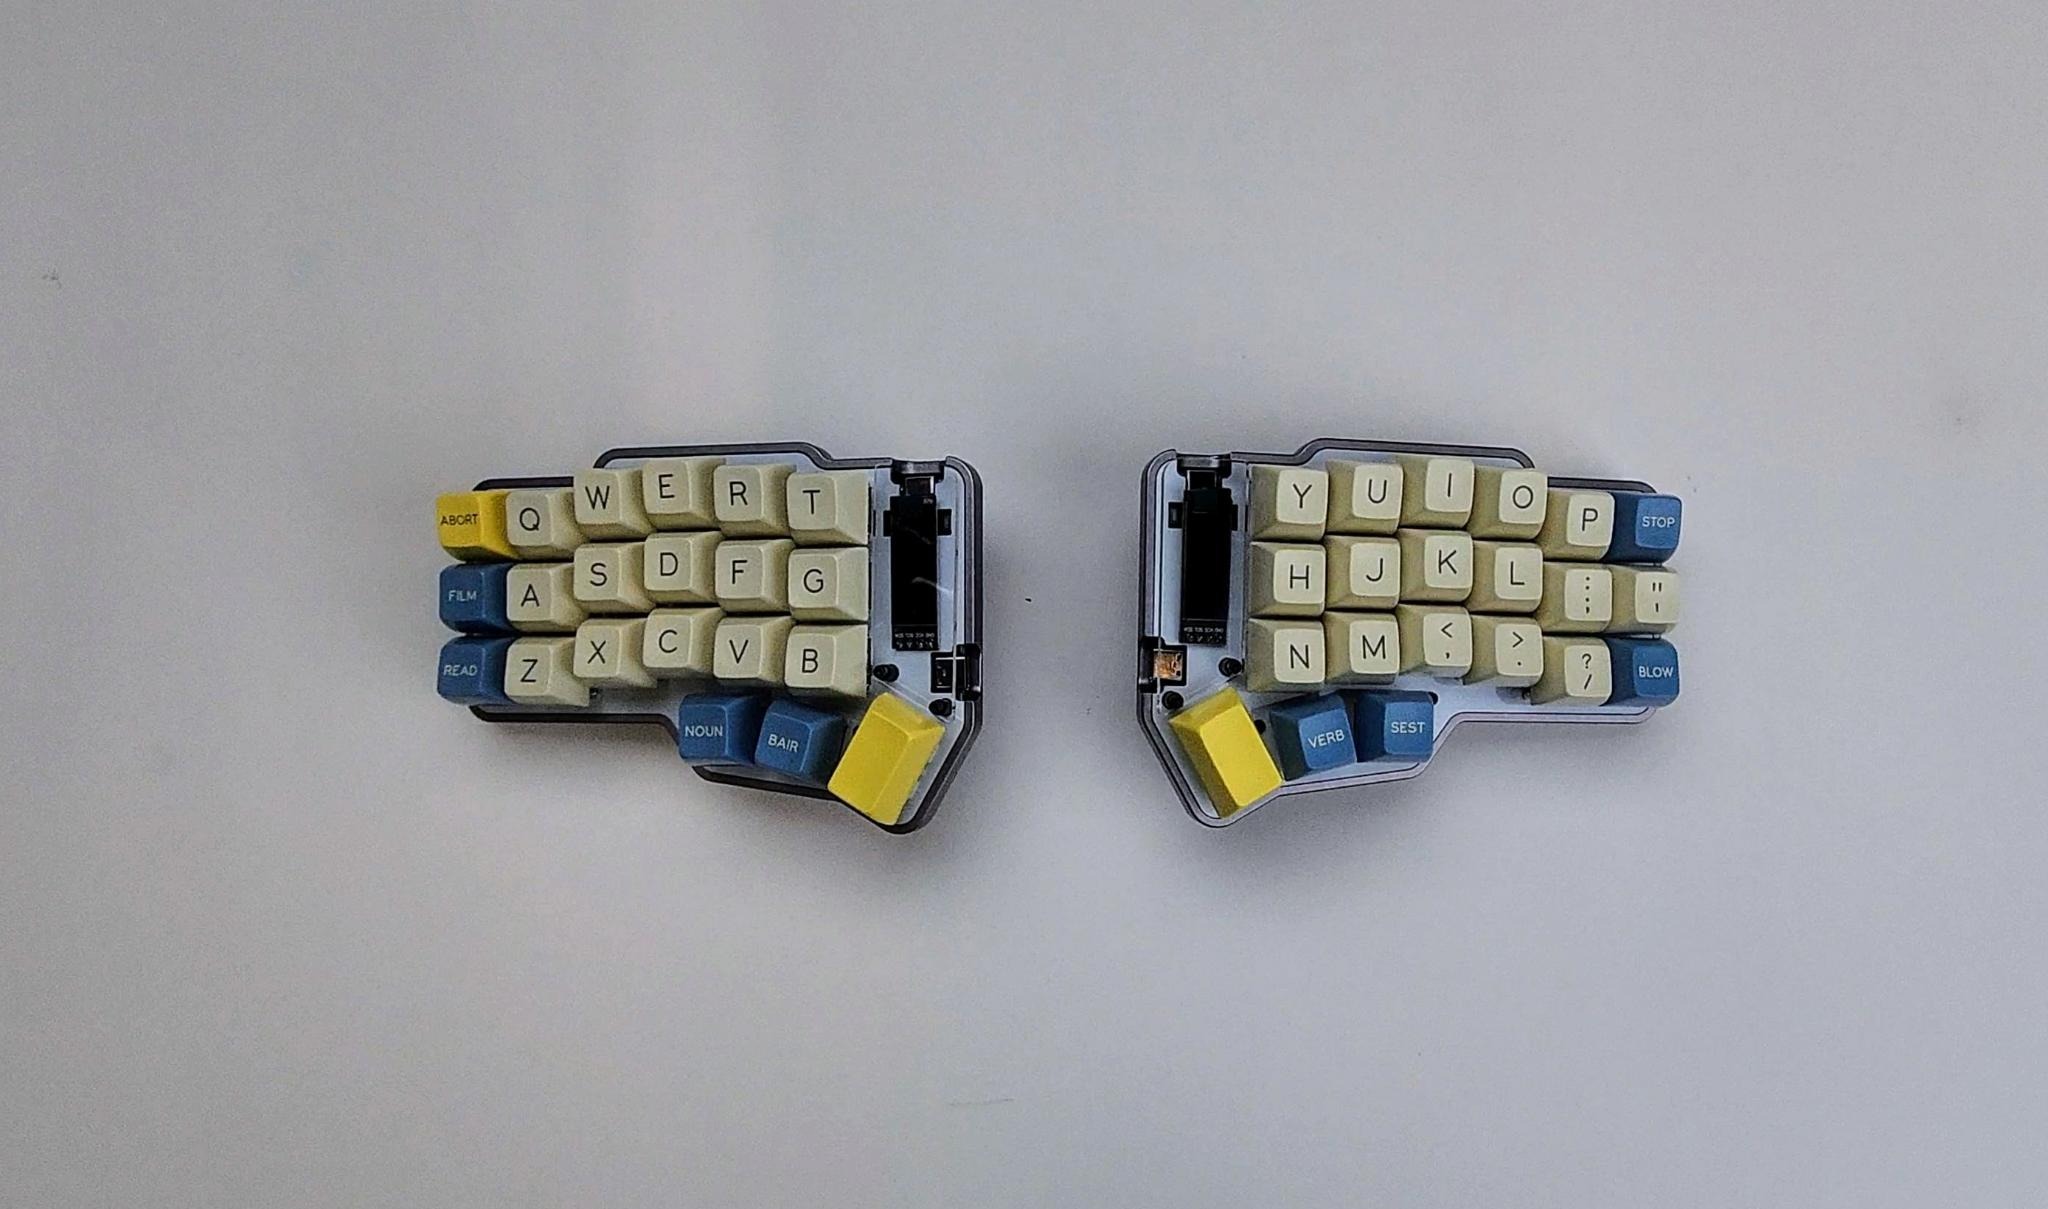
Step 6 Keycaps.
Throw your favorite keycap set on and enjoy your new keyboard. the Unicorne thumb keys are 1.5u keycaps.
Step 7 Tenting.
If you Got tenting legs they are very easy to install and you simply screw them onto the bottom of the case. feet on the bottom of the case make sure you dont scratch your case. The tenting legs have been designed to be quick to install and remove for travel
Step 8 Enjoy.
Thank you for buying a Unicorne keyboard from Boardsource we really hope you enjoy it.
Here are some links to other articles that may help you get the most out of your new keyboard:
- Learn more about your PCB Guide to the new Unicorne PCB
- Get the most out of your PCB Unleashing the High-Tech Power of Custom Keyboards
- Keyboard Programing
HELP! my mouse drifts
On some only some computers there's a problem where the mouse will drift if one is not installed. To fix this you simply turn turn it off in info.json "pointing_device": false,. example below:
    "features": {
        "audio": true,
        "bootmagic": true,
        "encoder": true,
        "extrakey": true,
        "mousekey": true,
        "nkro": true,
        "oled": true,
        "pointing_device": false,
        "rgb_matrix": true
    },
If you dont want to deal with that and want to just use VIA pleases use this pre compiled via map where joysticks have been disabled. **Again this is only a problem on some computers only some of the time (like when charging) and only if you dont have a joystick installed.
Extra
For questions, ask in Boardsource Discord server