Uno Guide
Building
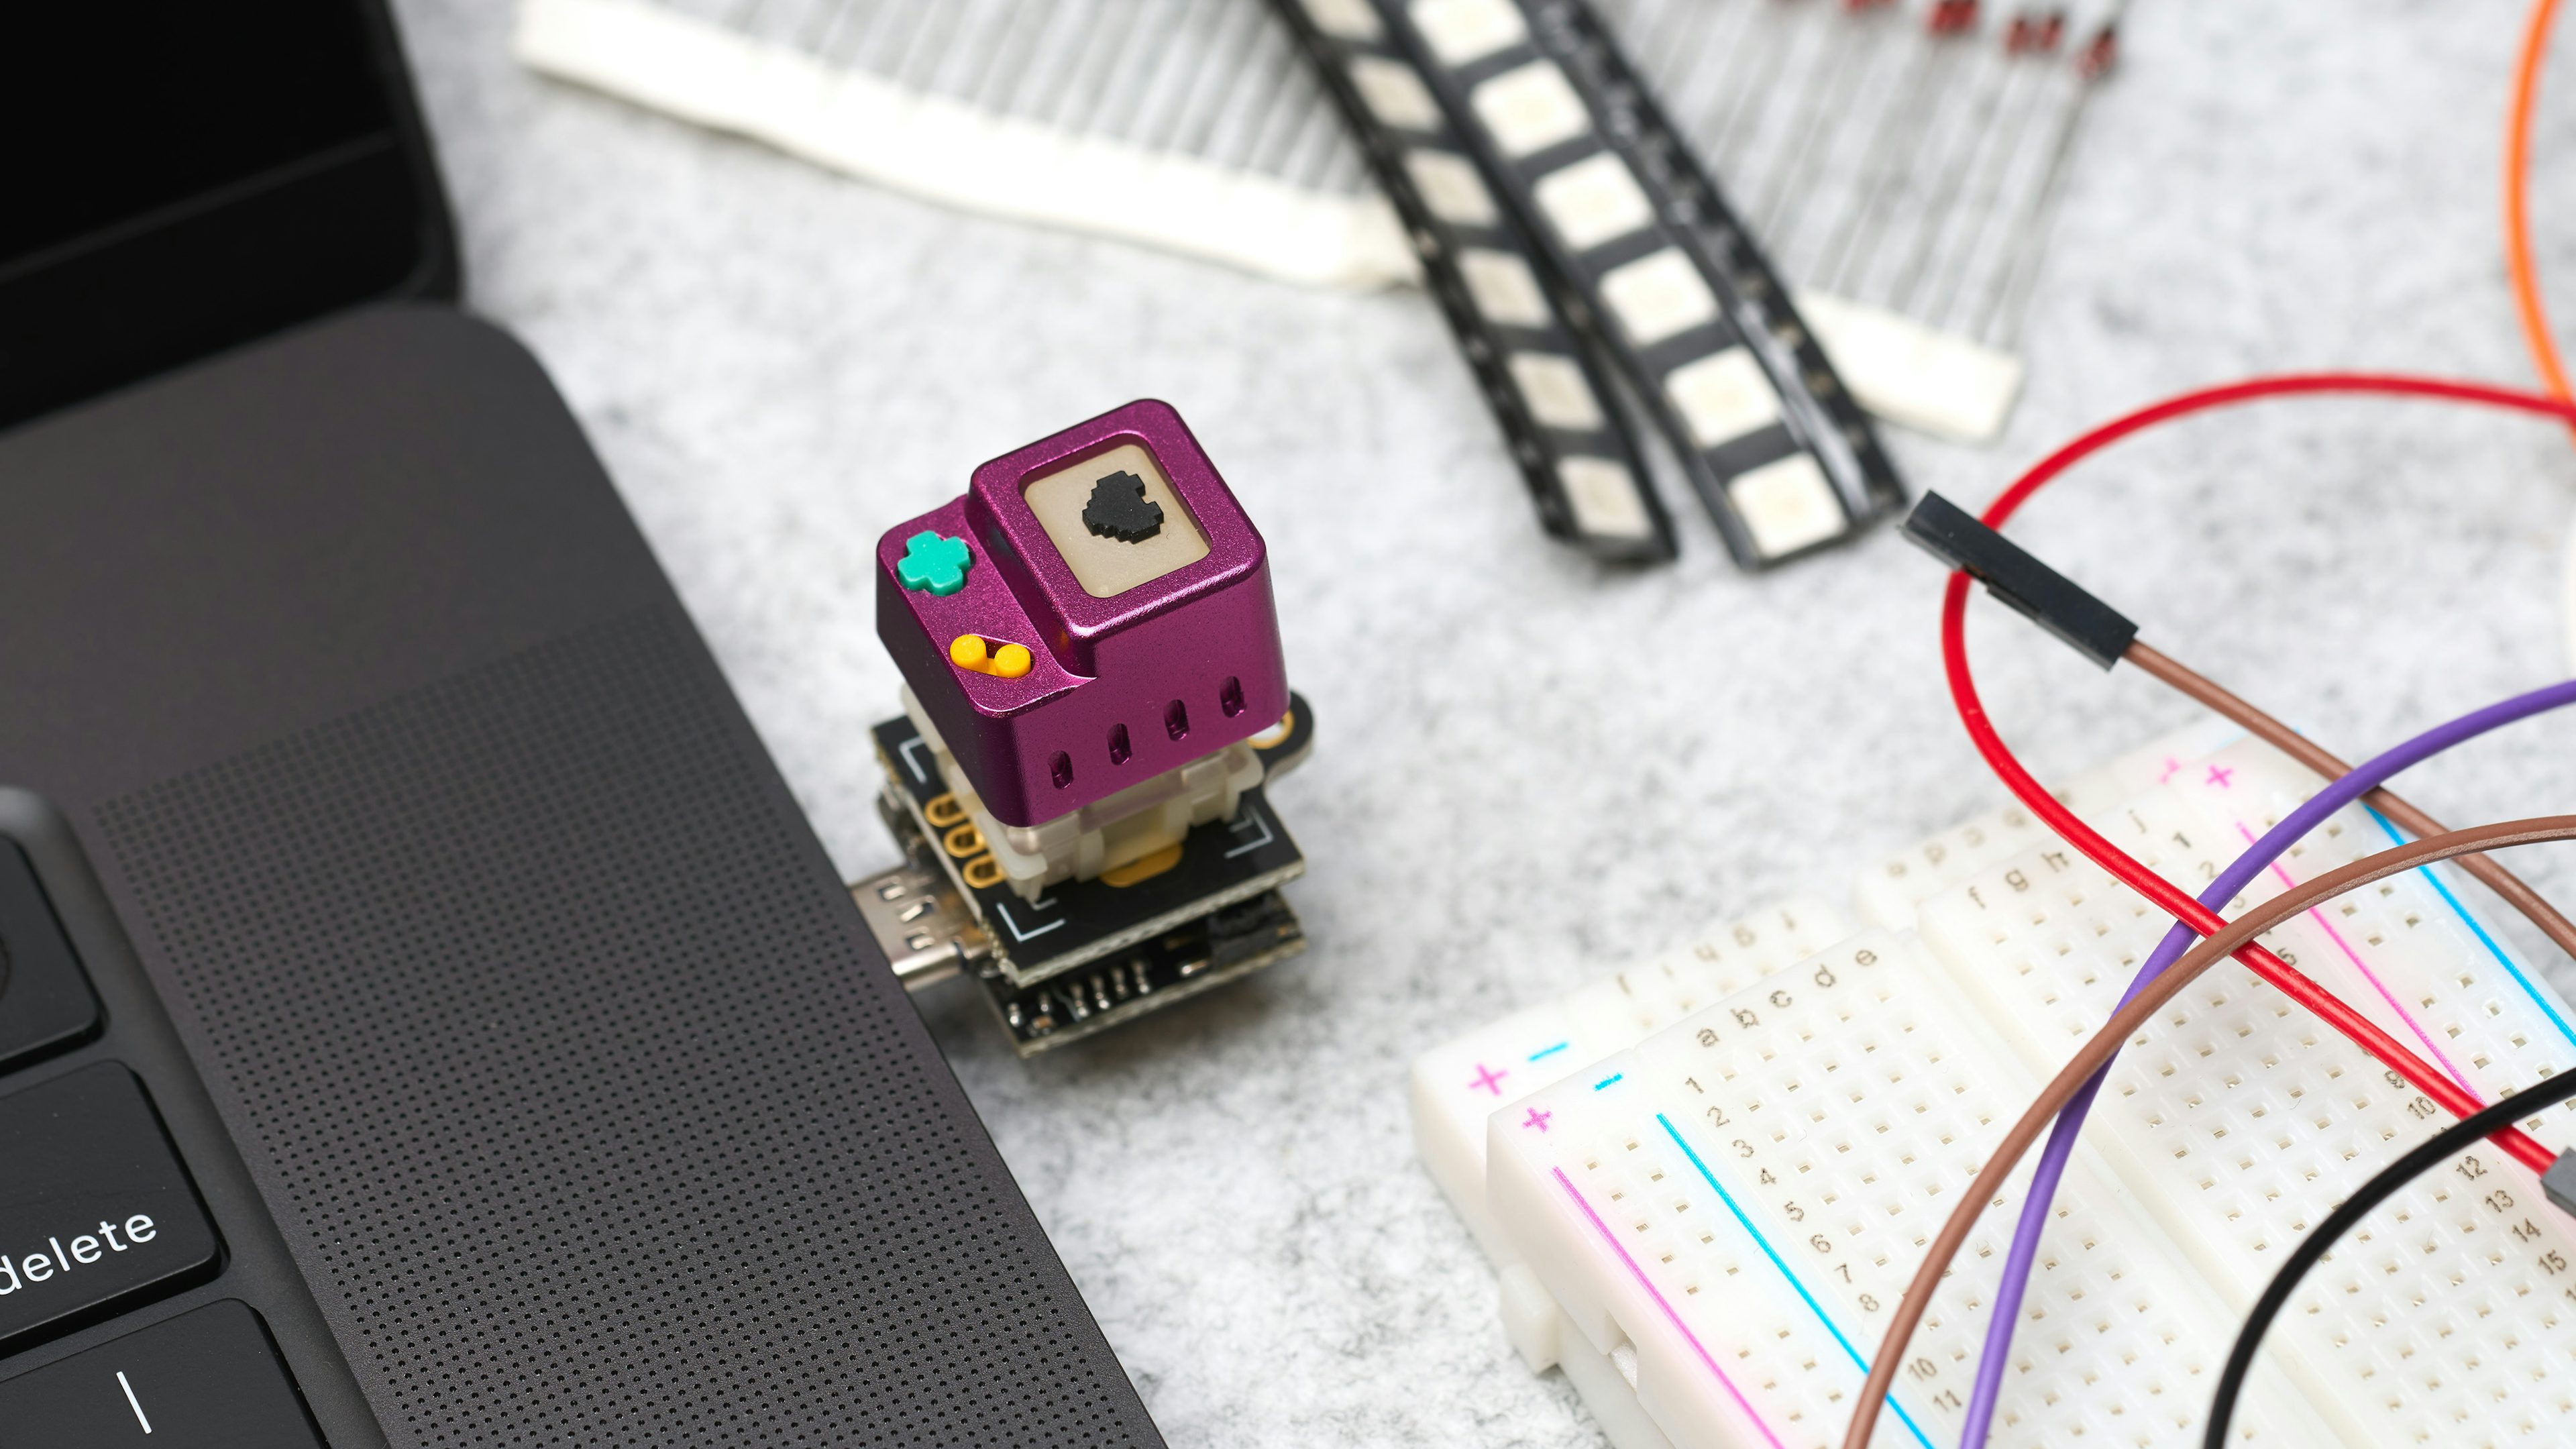
Building the Uno is quite simple: all you need to do is break the PCB in two along the "mousebites" between the two halves - don't worry, it's designed for this! Next, socket the top PCB (the one with the MX hotswap socket and RGB LED) into the lower PCB (the one with the USB): it connects on the 2x4 block of header pins. After that, you can socket in an MX key switch and keycap, and you are ready to move onto programing. Alternatively, you can solder in a rotary encoder instead of using a keyswitch.
Programing
Uno_IR_KMK
This repository contains the code (and compiled circuitpython .uf2) to run KMK on the Uno IR. This includes the keyboard files for easy remapping, as well as a plugin/module to handle the infrared decoding. There are 3 different examples given: one that demonstrates the button, another that shows the rotary encoder, and a final one for use with IR. You can combine pieces from the examples together easily.
IR Decoding
To the best of Snipeye's knowledge, the IR decoding method a novel approach: it should handle most IR protocols and deocde consistently - though it may not always decode in the manner intended by the manufacturer. It has so far been tested with NEC and Sony IR protocols, but is generic enough that it's expected to work with most consumer remotes. For guidance on how to program it, take a look at the options/ir/main.py example in the repository. For details on the decoding process, look into board/IRModule.py.
Installation
When you plug the Uno IR into your computer, a new drive will mount (like a USB flash drive) named "RPI-RP2".
- Copy the
firmware.uf2file to this drive. After the copy finishes (it will take a minute), the drive should automatically unmount, then a new drive will mount named "CIRCUITPY". - Delete all the files on the CIRCUITPY drive.
- Copy all the files inside the "board" directory from this repository into the CIRCUITPY drive. The file structure should now look like:
CIRCUITPY/uno.pyandCIRCUITPY/IRModule.py... etc.* - Choose which example you want to work from - in the
optionsfolder, there are examples for the button only, the encoder, or the IR module: each should be fairly self-explanatory - you can build your own version, too. Depending on which option you want, look in theoptions/folder, pick a subfolder, and copy the contents toCIRCUITPY/- you should now have aCIRCUITPY/main.pyplus, potentially, a couple other files (depending on the example).
- NOTE: The included
boot.pyadds a behavior that you may or may not want: when the Uno is plugged in, it will work as a keyboard as normal - but it will not mount theCIRCUITPYdrive for easy editing unless you hold the button down while plugging the Uno in. If this isn't desired behavior, don't copy theboot.pyfile over: without this file, theCIRCUITPYdrive will mount whenever Uno is plugged in, regardless of whether the key is pressed or not.
Modification
main.py from the various examples contains the keymap (keyboard.keymap) or the IR Map (irHandler.map) (like a keymap, but maps IR codes to functions instead of button presses to functions), as well as the encoder map (encoder_handler.map) if you've soldered an encoder on. For instructions on how to build macros, etc, I recommend taking a look at the KMK Documentation.